We have a white kitchen with a blue island in our home, and recently gave it a few updates. I’ve wanted to refresh this post for a while, so here’s a clear, updated look at what we love—and what we might change—about the space.
If you’re building, renovating, or simply planning a white kitchen with a blue island, I’ll share the design choices, materials, and small details that made the biggest difference for us.
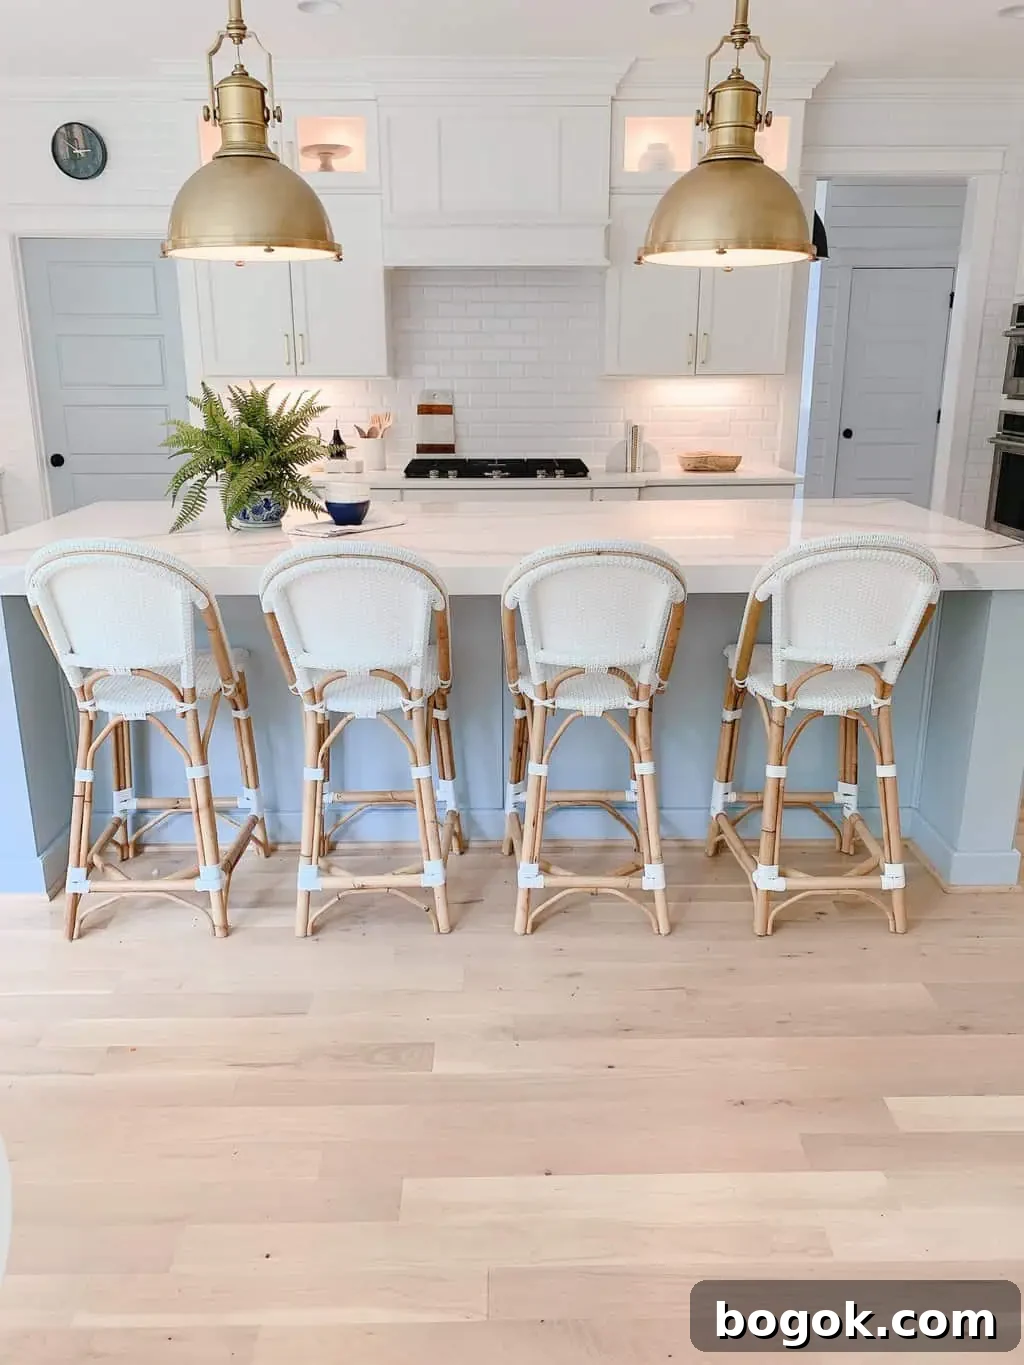
Our White Kitchen Blue Island Details
Affiliate links may be used. This blog is my business and I want this post to be helpful for you. Read my full disclosure policy here.
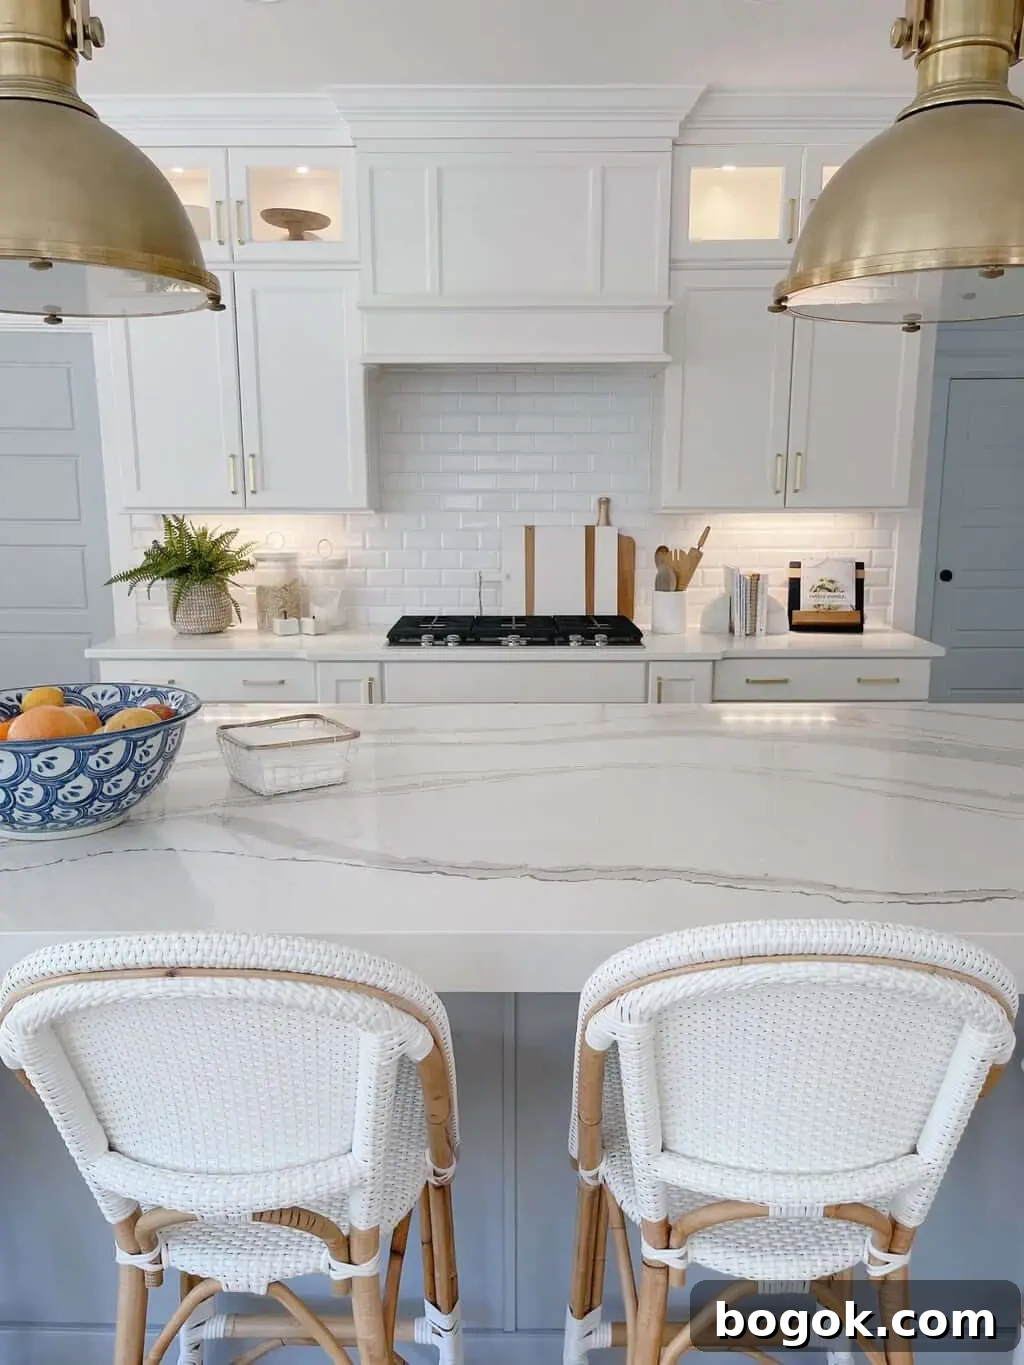
White Kitchen With a Blue Island
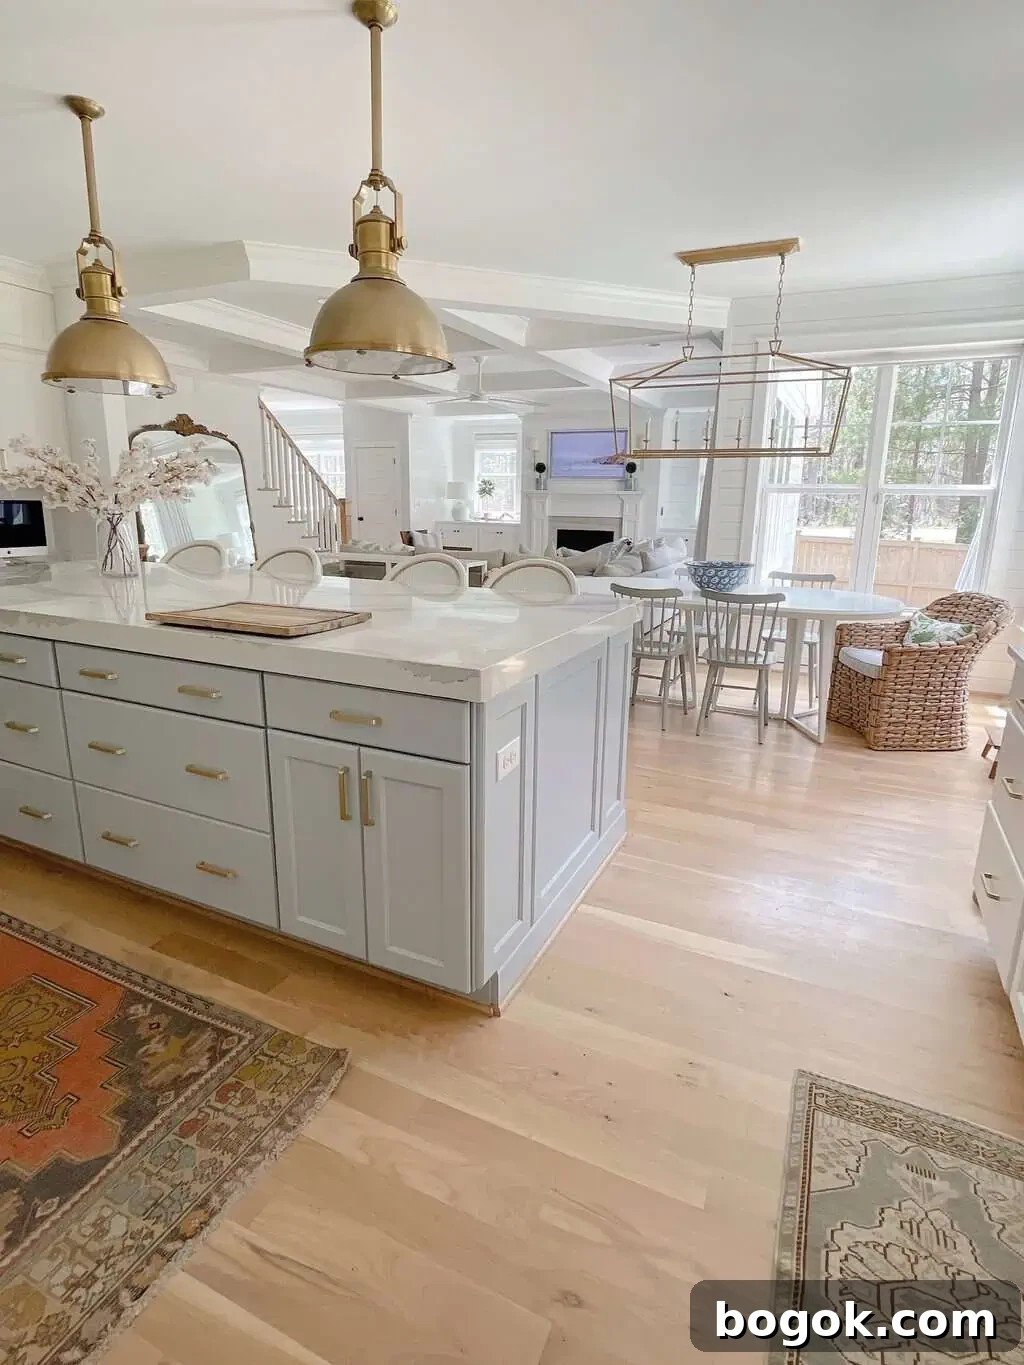
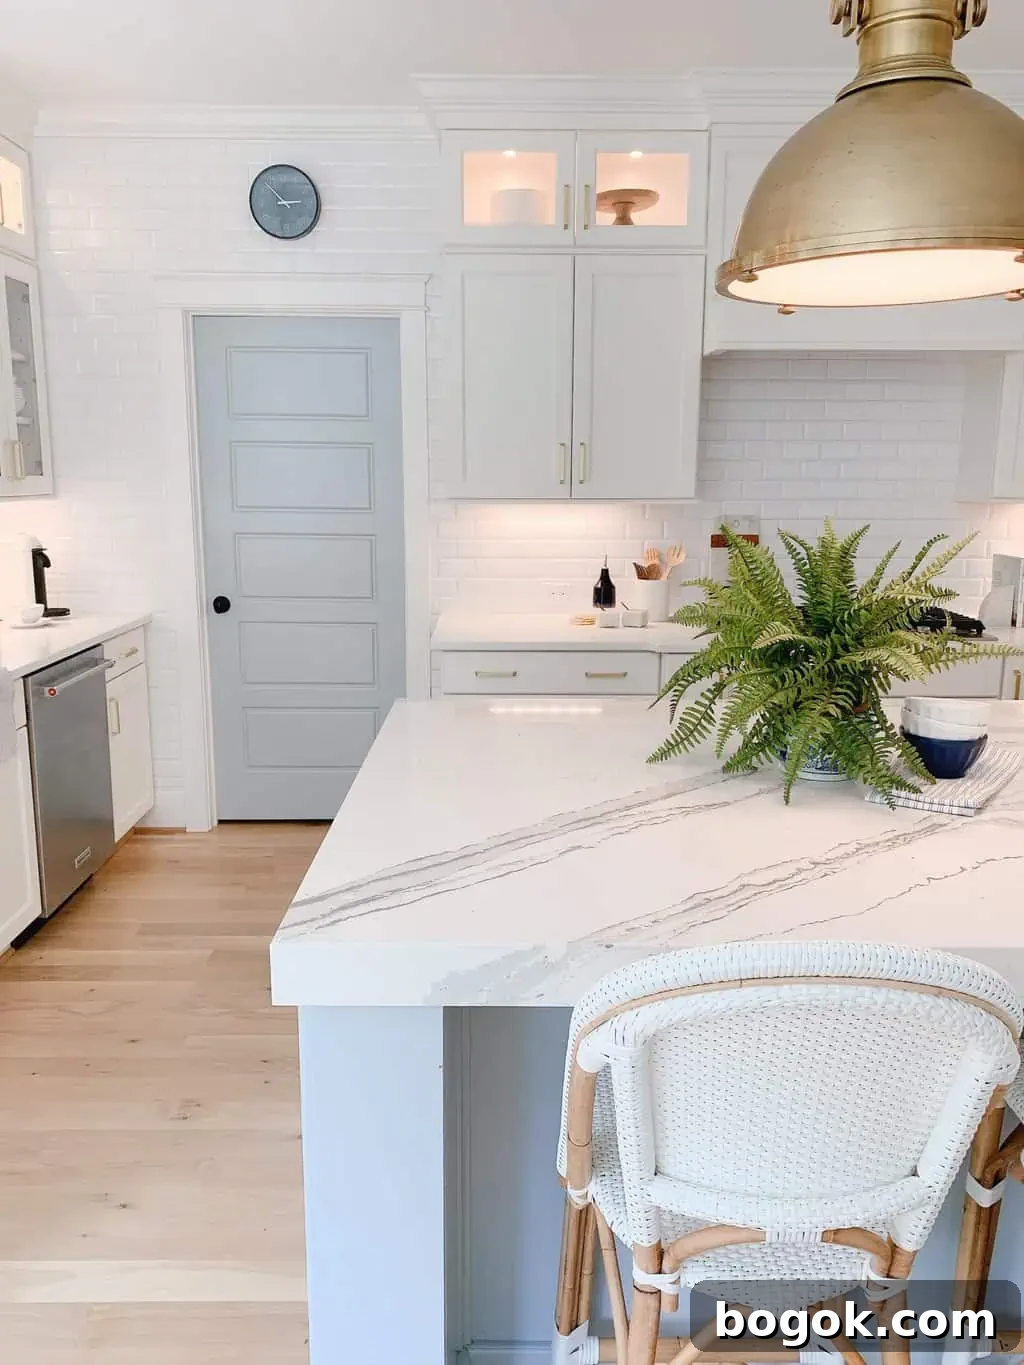
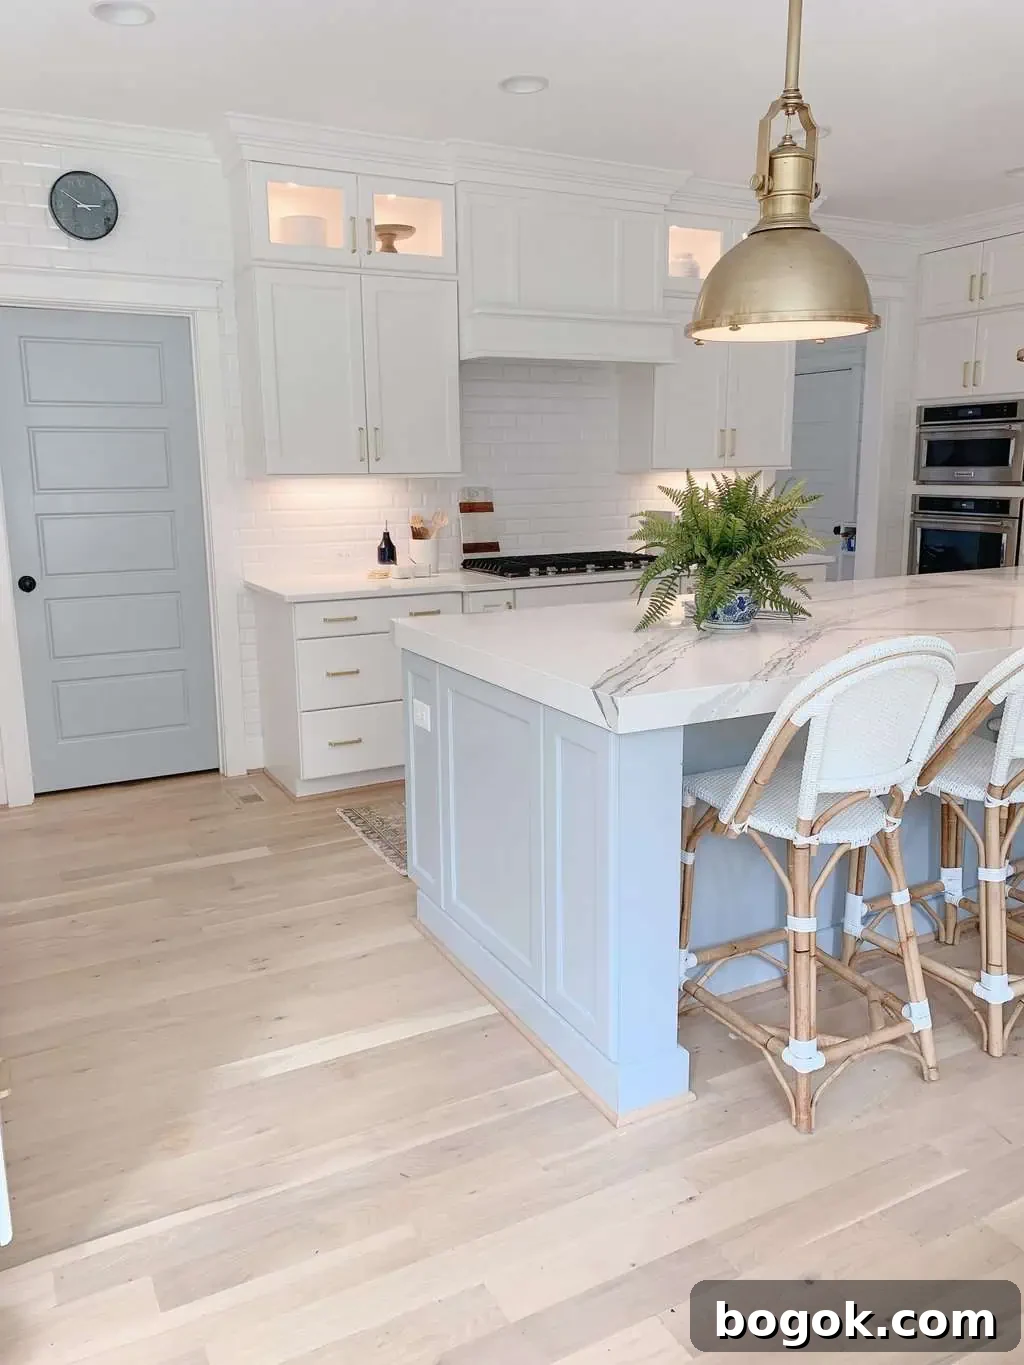
Our kitchen started all white. After living with it for a year and enjoying the crisp look, I wanted something with more personality. While contractors were on site for other work, we decided to paint the island a deep blue with gray undertones: Sherwin Williams Krypton. If you consider painting your own island, get a few quotes—professional painting wasn’t as expensive as I expected, and after two years the finish has held up without chipping.
Island dimensions: 4.3′ x 9.7′. The island was designed as one continuous work surface so the whole family can use it as a worktable, craft area, or drop zone for daily clutter.
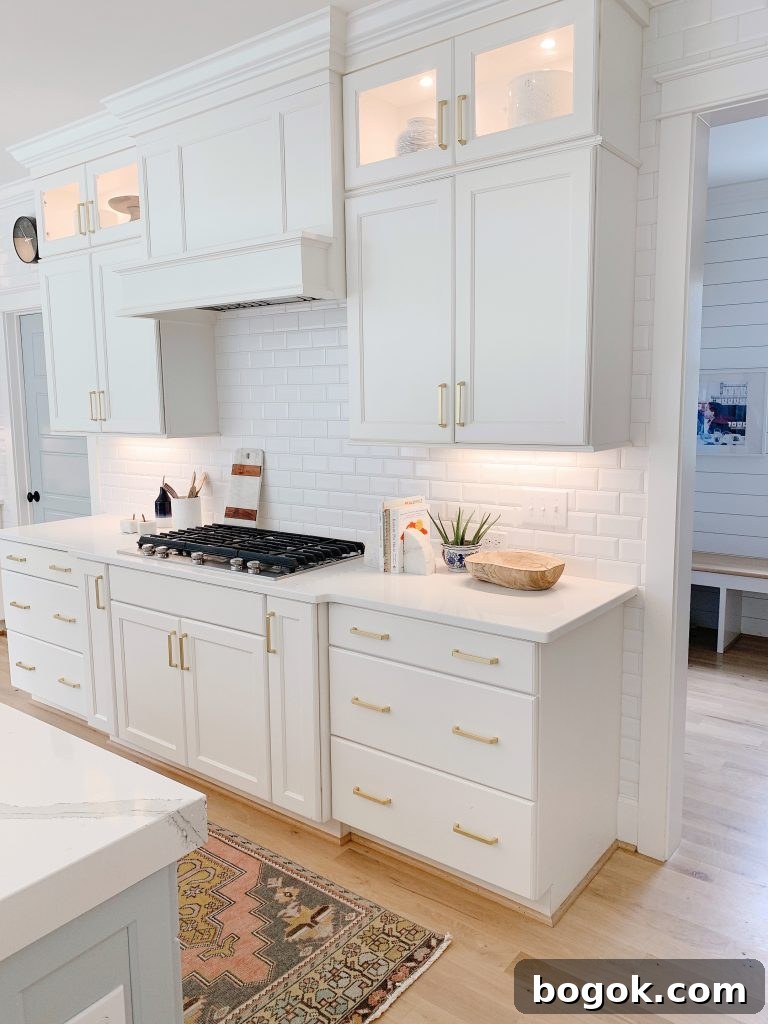
Recently we swapped the cabinet hardware to brass, which changed the kitchen’s tone more than I anticipated. Below you can see the before photo with nickel pulls and the after with brass—the brass warms the space and pairs nicely with the blue island.
Before, with old nickel pulls:
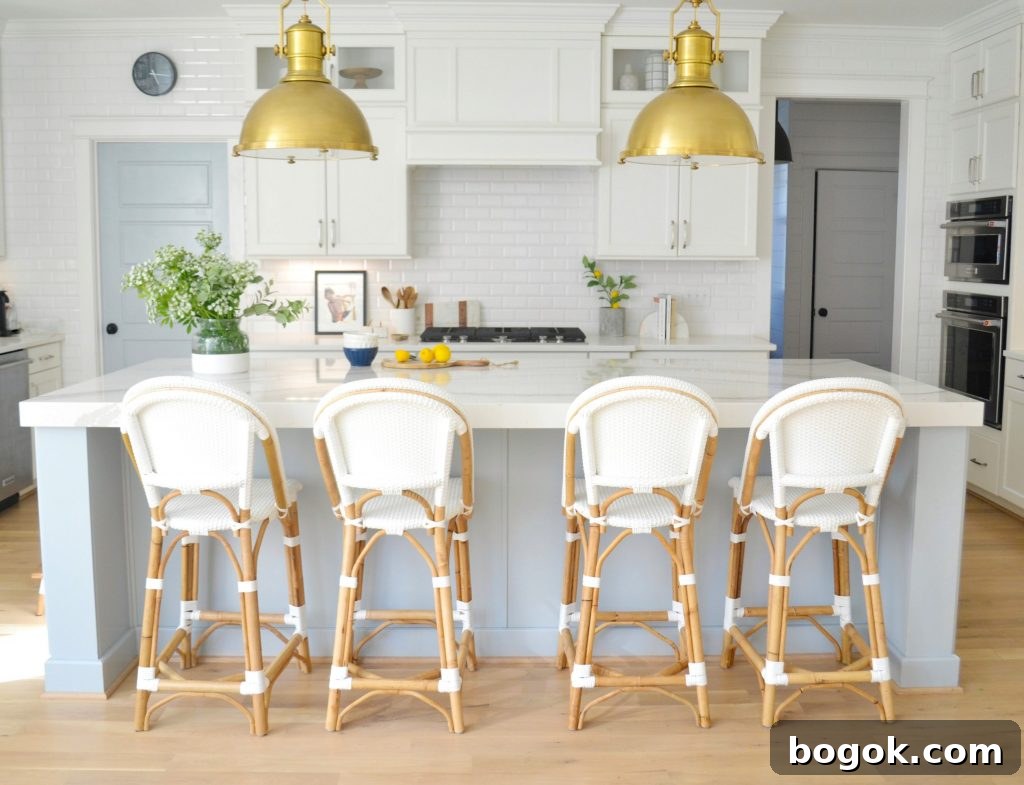
After, with new brass pulls:
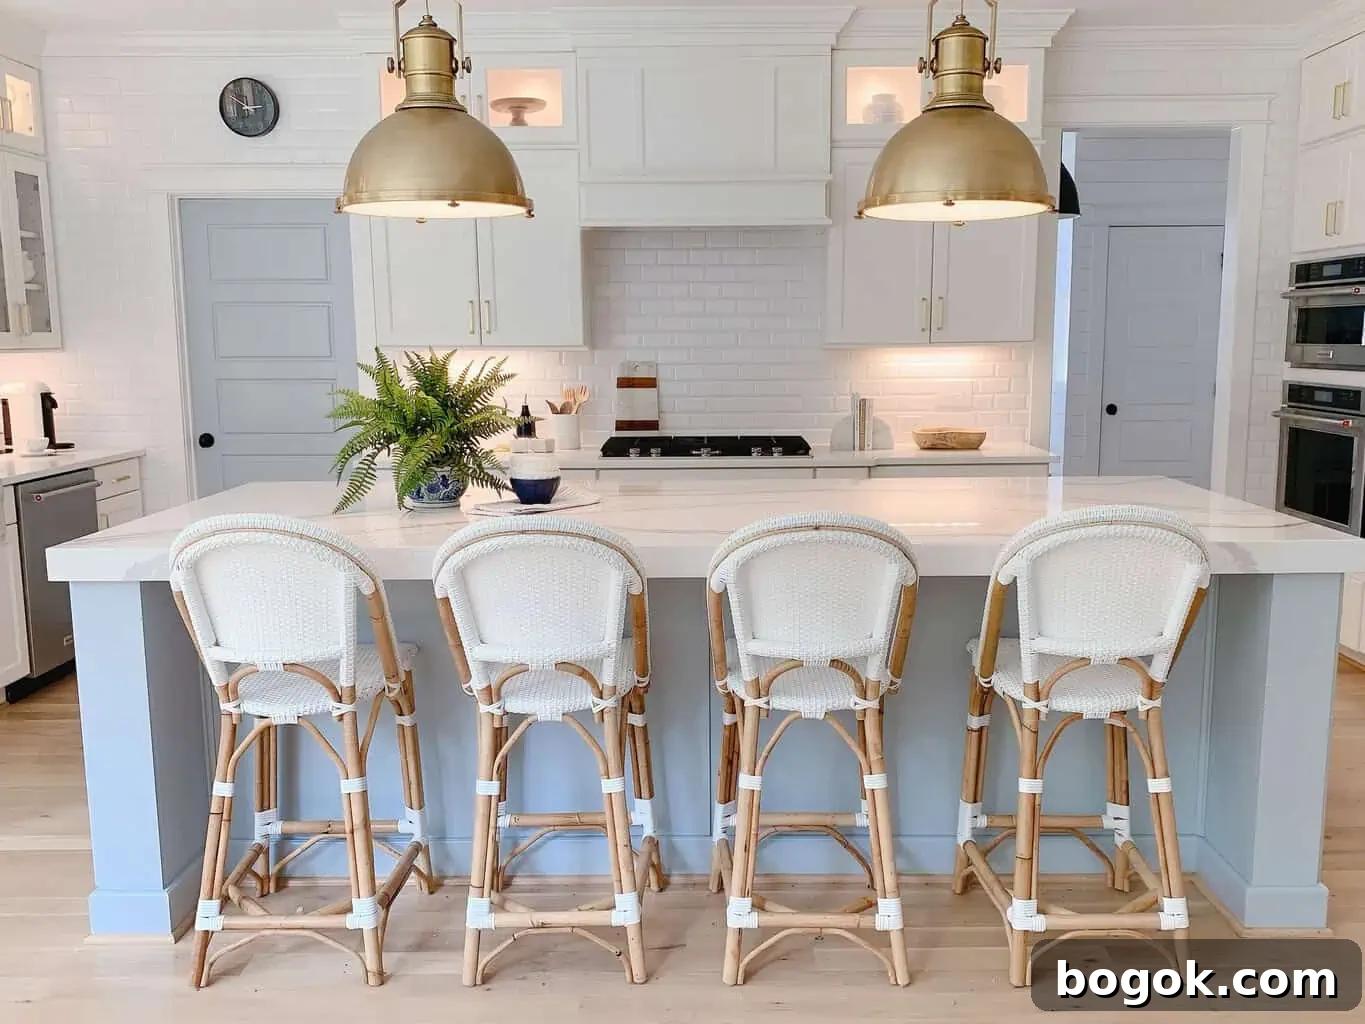
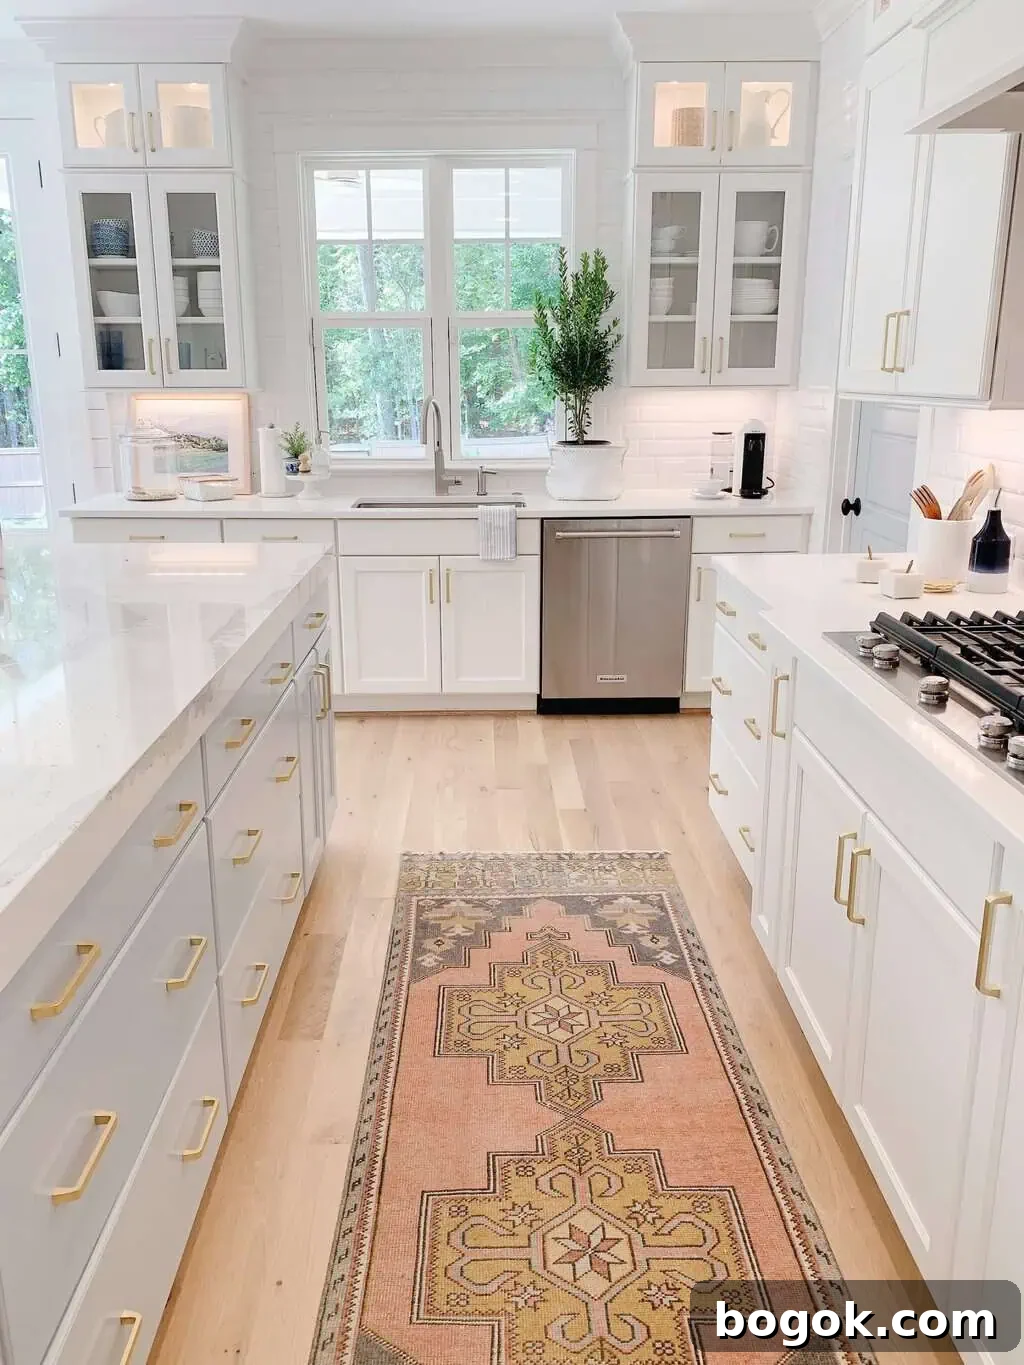
The new brass pulls tied everything together. I was initially worried about mixing brass hardware with stainless appliances and a nickel faucet, but the warm tones complement the island and soften the room.
Shop features we used around our kitchen (for reference):
We designed the island as a large uninterrupted surface—no sink or cooktop—to maximize flexibility. It functions as prep space, schoolwork area, and an everyday gathering spot for our family.
Our Downing Table
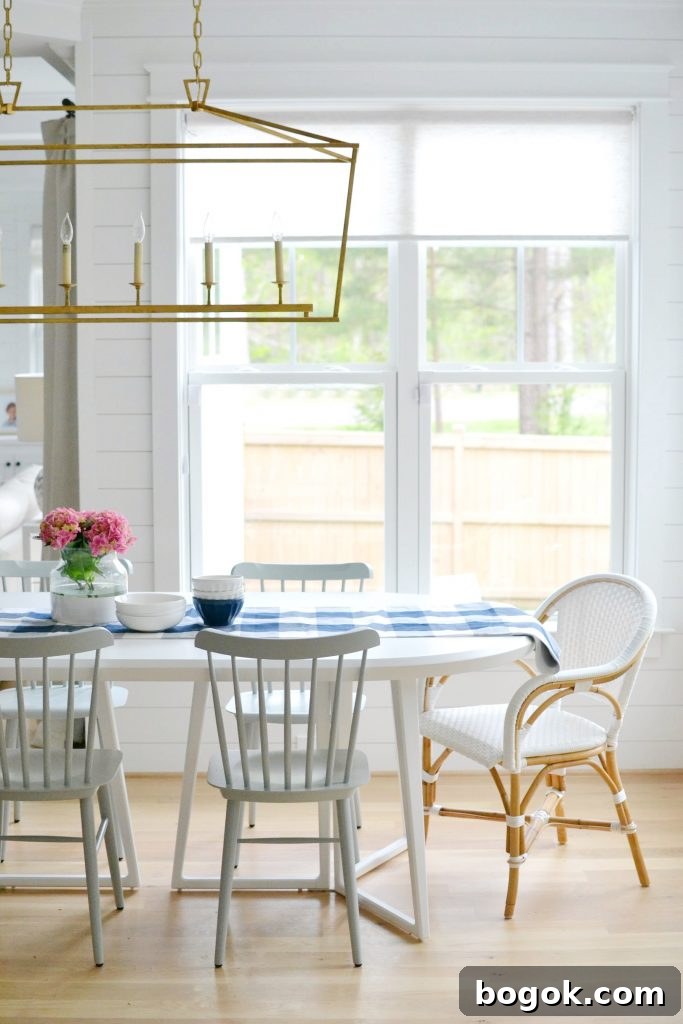
We added a white oval kitchen table that fits beautifully in the space, and later swapped in more comfortable end chairs to break up all the white. The table looks just as good in person as it does in catalog photos—an easy favorite for family meals.
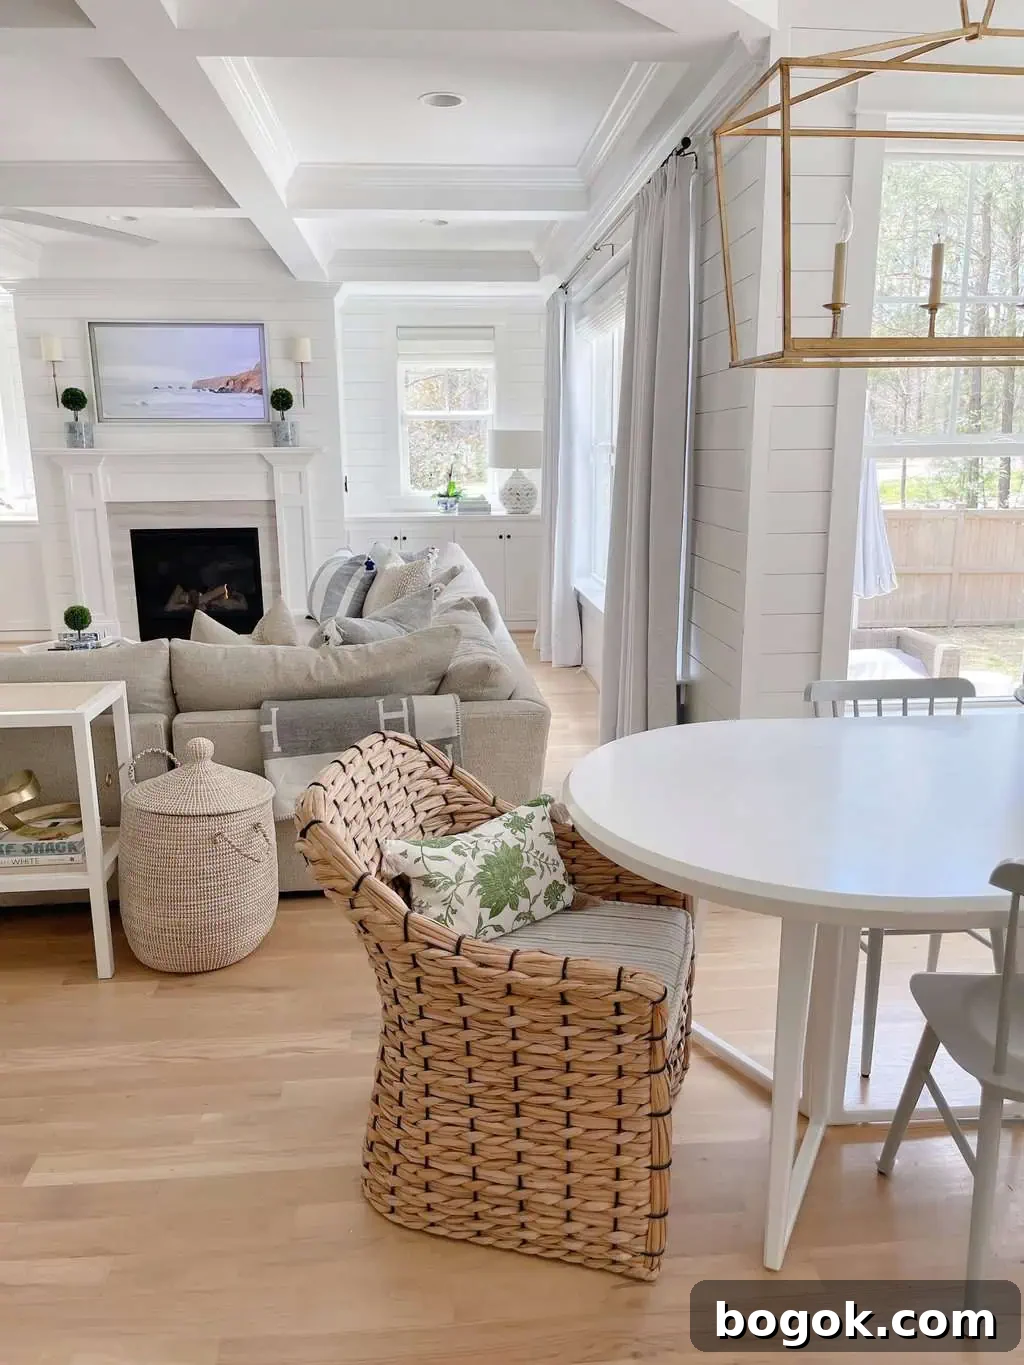
I posted a one-year update about this table—see that post for long-term thoughts.
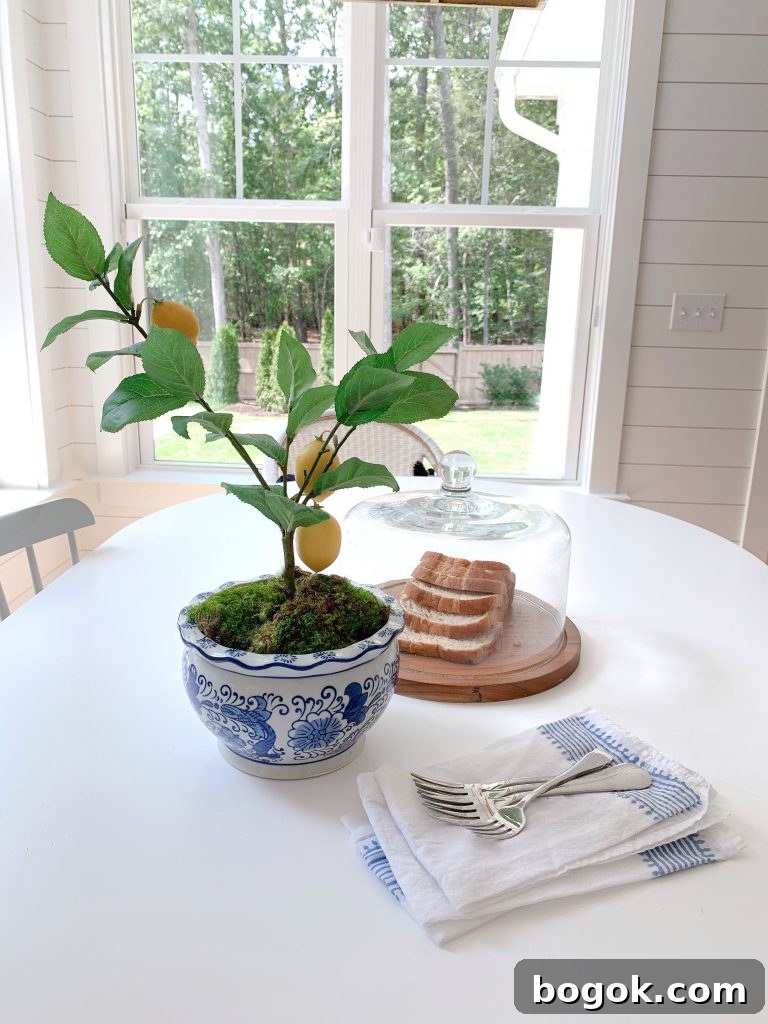
Small accessories—like blue-and-white planters—add warmth and personality in an affordable way. A few well-chosen decorative pieces go a long way in a neutral kitchen.
Cabinets
Our cabinets were custom made by 1st Choice Cabinetry in Raleigh, NC. They are Norcraft maple with soft-close hinges and framed full-overlay doors. Soft-close hinges are a practical upgrade—especially with kids.
If your cabinets don’t come with soft-close, you can add a soft-close adapter to most existing doors yourself for a low cost. Consider how the cabinetry finish will coordinate with the rest of your home; our factory white is similar to Benjamin Moore White Dove, a slightly warm off-white that works with many palettes.
One detail I’d change: the ends of our cabinets weren’t finished with trim to match the island sides. Adding finished end panels or trim would have given a more polished, high-end appearance. I also wish we’d added furniture feet to the cabinets for a more custom look.
Countertops
We used quartz throughout the house. Quartz is durable, low-maintenance, and resists staining and scratching—important for a busy family kitchen. Our perimeter counters are plain white Cosmos quartz; the island is Cambria Brittannica for more dramatic veining and visual interest. To make the island feel elevated, we chose a 3″ mitered edge detail that frames the surface like a lid—small details that have big impact.
For everyday messes, warm water and soap do the job. For stubborn red stains, a quick spot treatment works well.
Tile
We debated blue tile, but chose classic beveled 3×6 white subway tile for the backsplash. It was affordable and timeless, allowing us to extend tile to the ceiling in places without a huge cost increase. That vertical extension adds a big visual impact for a relatively small price.
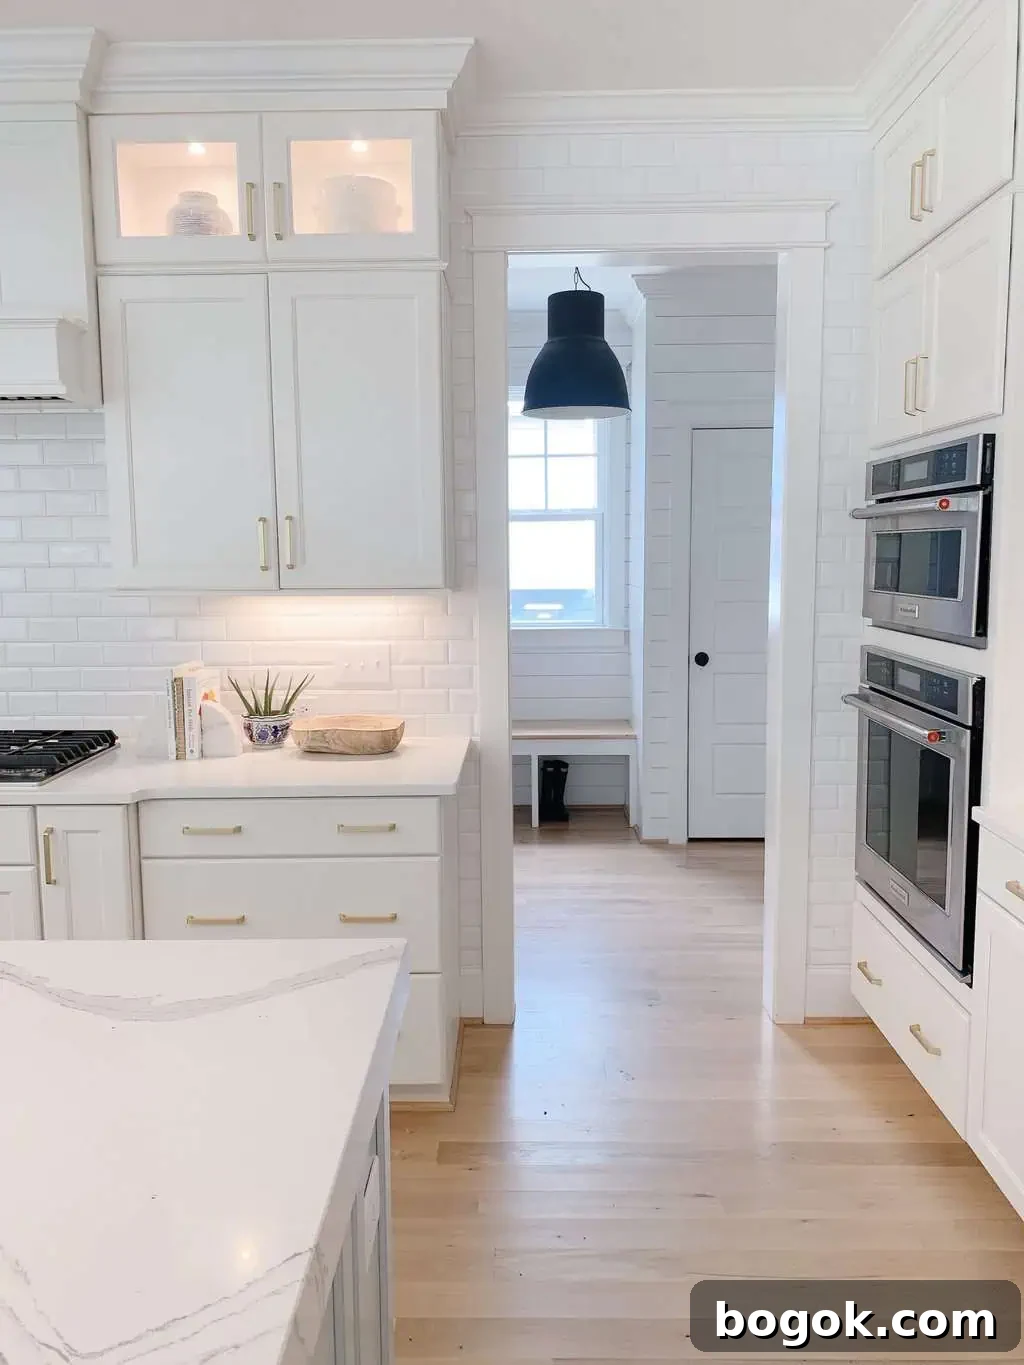
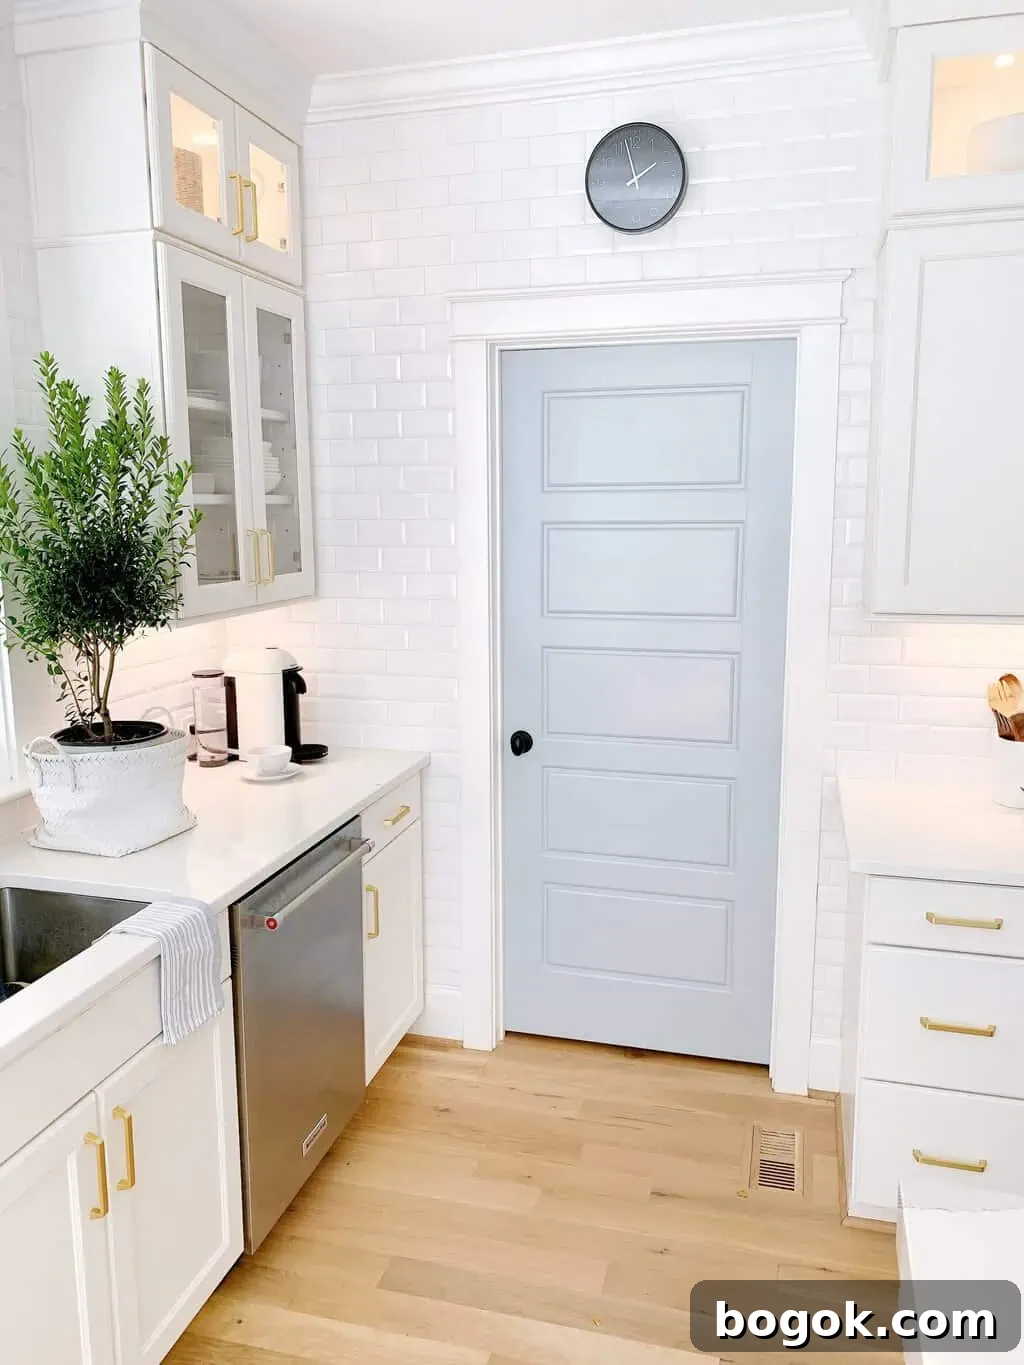
Note: this photo shows the kitchen tidied up—there’s still a stray pretzel on the floor, which feels very on brand for our family life.
Blue and White Kitchen Details
Below are additional specifics you might find useful for planning or renovating your kitchen.
Size
Our kitchen is open-concept and measures roughly 22′ from the back wall by the range hood to the front of the living area, and about 22′ side-to-side from refrigerator wall to sink wall. The spacious layout keeps the room from feeling cramped, which matters with four kids.
Faucet
We use a touchless motion-sense faucet for a clean, modern look and hands-free convenience.
Appliances
Our appliances are KitchenAid. The refrigerator is a standard depth model; we recessed it slightly into a niche so it sits flush with the cabinetry. Fingerprints on stainless are a minor annoyance—I would prefer paneled appliances if I did it over.
Hardware
We chose a classic bell-pull in brushed brass. Switching from nickel to brass warmed the room and provided a pleasing contrast against the blue island and stainless appliances.
Lighting
Under-cabinet lighting is one of my top recommendations—practical and attractive. We also installed puck lights in the upper glass-front cabinets to highlight dishes and create ambiance.
A detail many forget: outlet placement. Don’t cut into a beautiful backsplash with poorly placed outlets. We positioned ours under cabinets or sideways to blend with horizontal tile lines—small decisions that preserve a clean look.
The Vent Hood
I sketched the stove vent hood concept for our cabinet maker to ensure a classic, cohesive look that complements the cabinetry without competing with the pendant lighting.
Walk-In Pantry
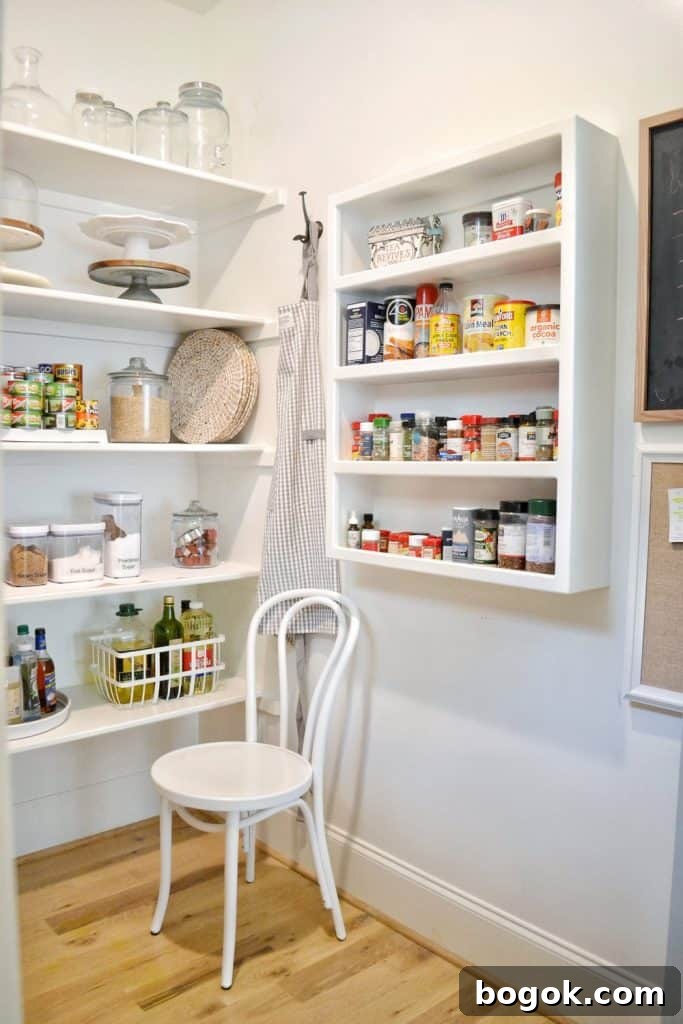
Our walk-in pantry measures approximately 10.4′ x 6.4′. It’s a generous space that made organizing and storing bulk items much easier.
5 Things I Would Do Differently
Designing the kitchen was a privilege, and hindsight highlighted a few small changes that would have improved the final result:
- Add finished end panels or trim to the cabinet ends to match the island sides for a more refined look.
- Include furniture feet on the base cabinetry to give a custom, elevated appearance.
- Create space for additional seating at the island by rearranging some drawers so more stools can fit for family meals and casual dinners.
- Install panel-ready appliances when possible to achieve a seamless, integrated appearance.
- Incorporate appliance garages or hidden appliance storage to keep small appliances like the toaster and blender out of sight and make cleanup easier.
If you enjoy this kind of home content, I share more design and lifestyle posts across social channels. Thank you for reading—I hope these details help you plan a kitchen you’ll love.
You Will Also Like:
14 Kitchen Runner Rugs
Our Black and White Bedroom

Our Blue Living Room