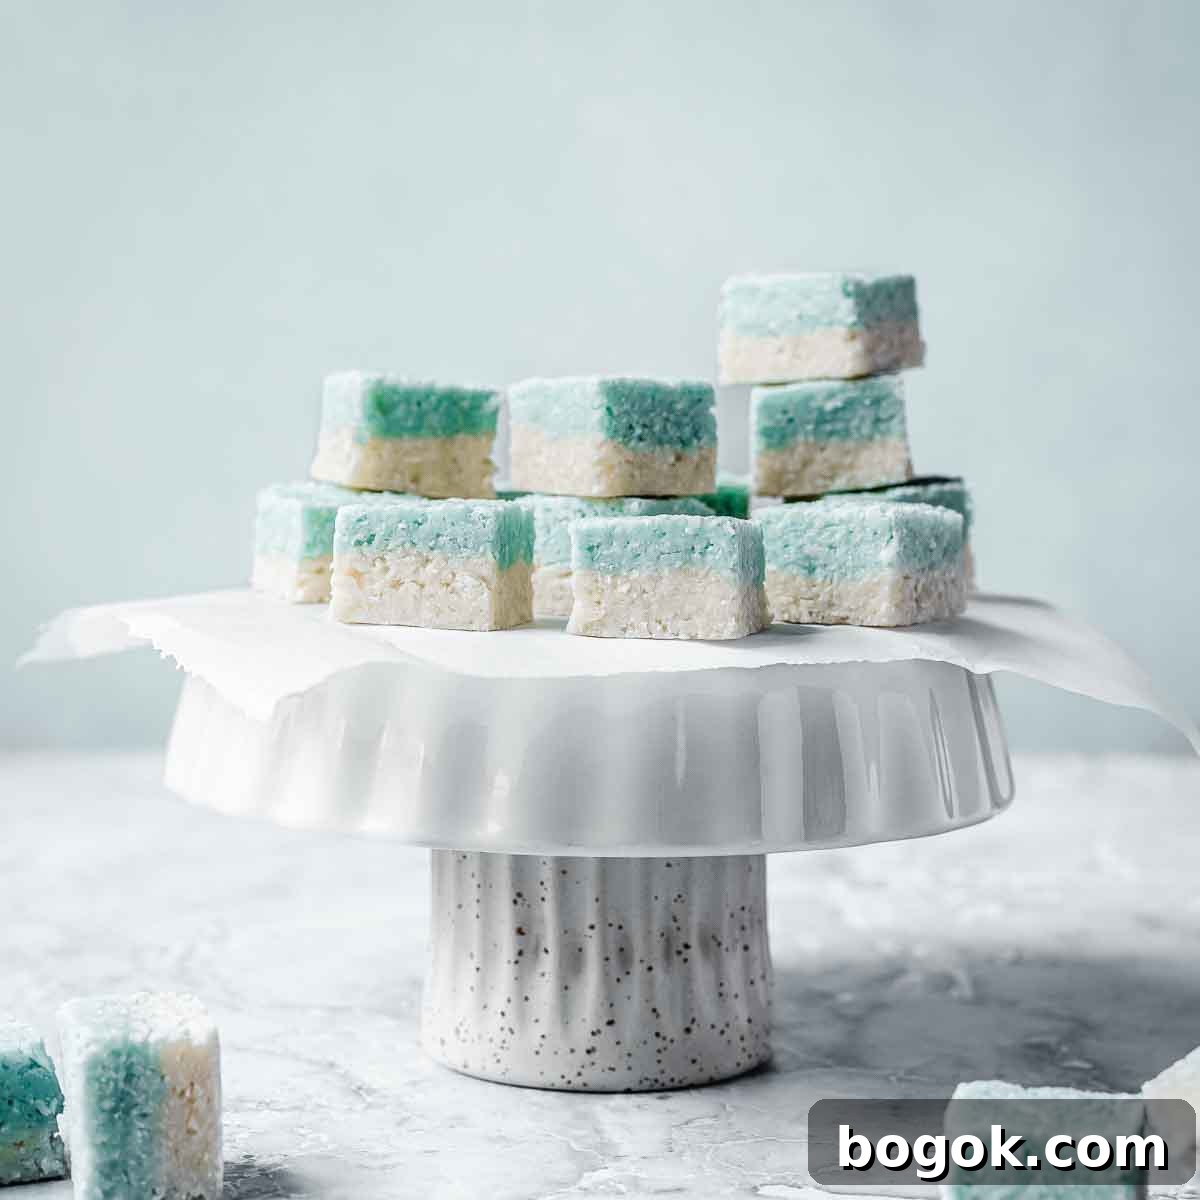
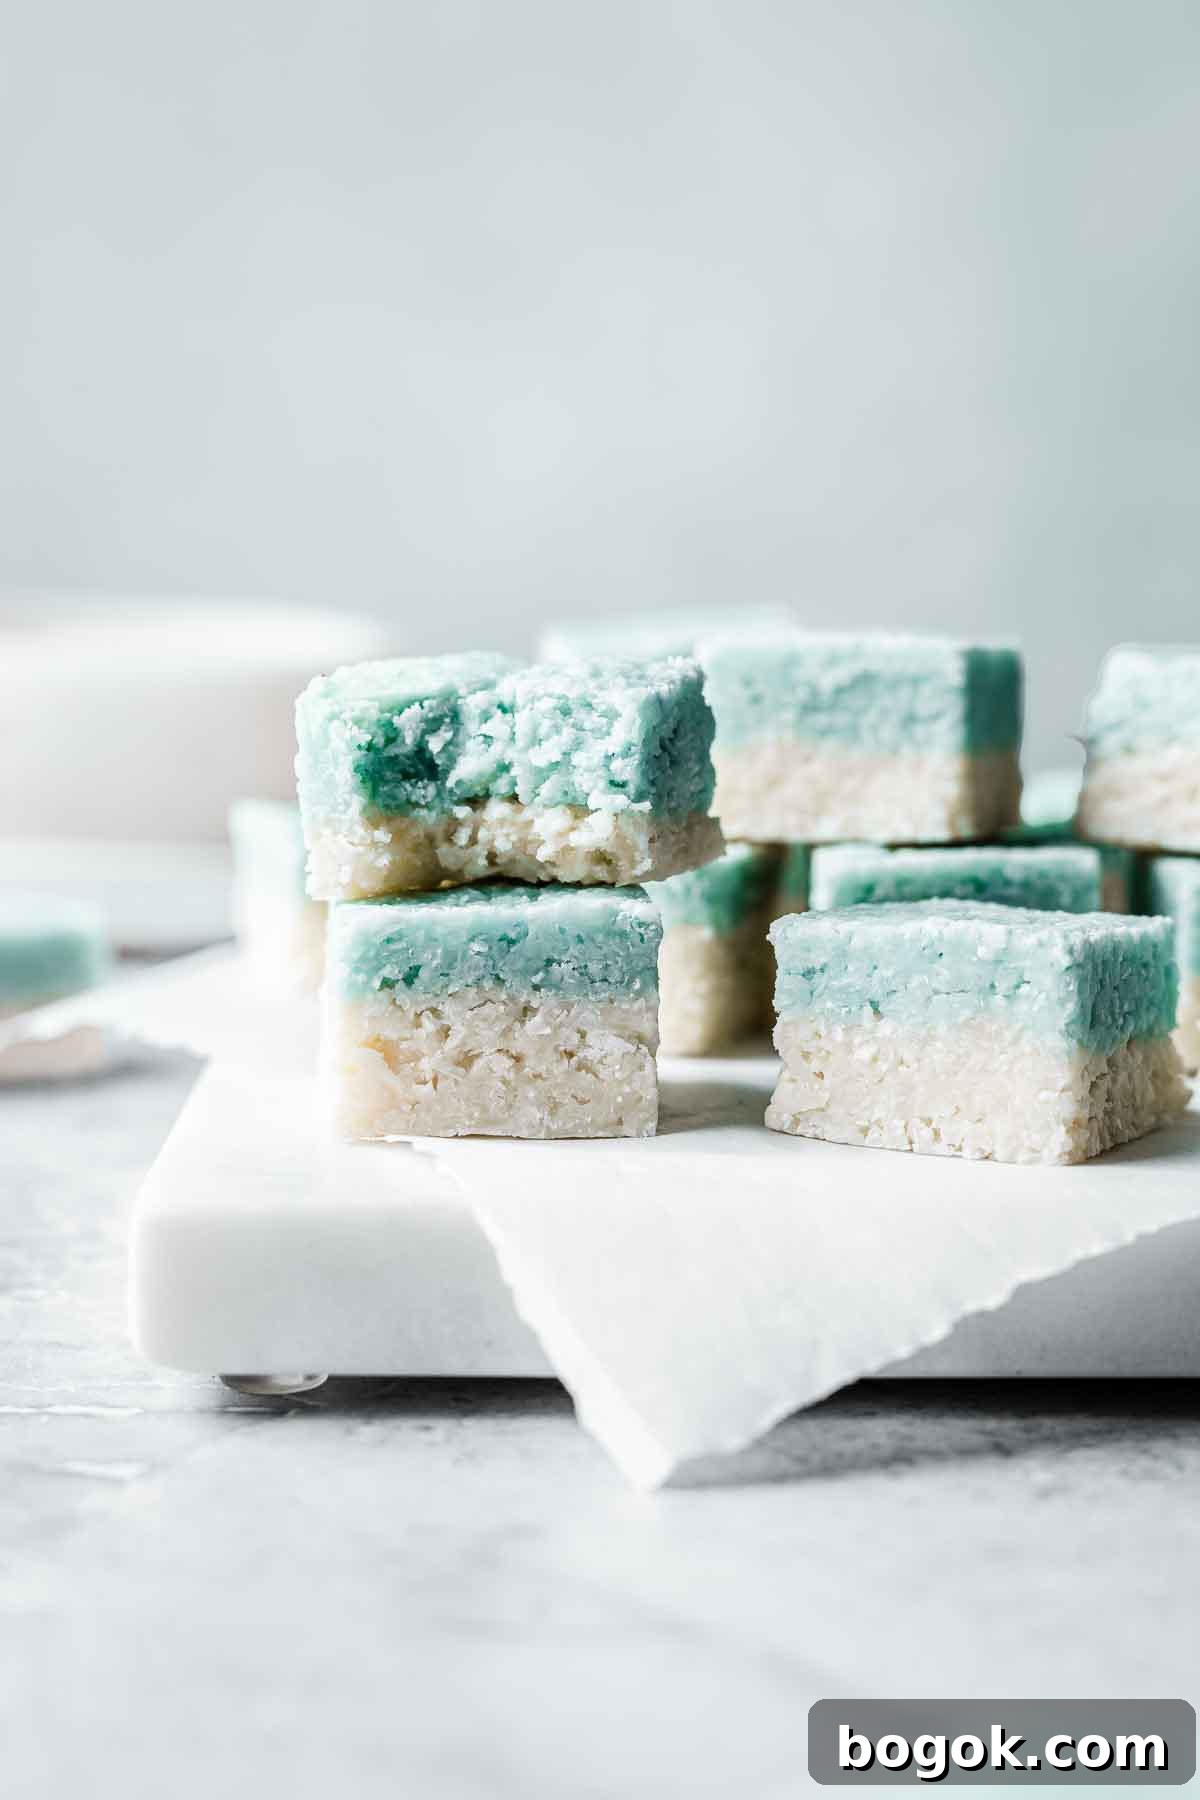
Coconut ice is a quick, no-bake candy that’s chewy, milky, and packed with coconut flavor. This modern, uncooked version of the classic boiled recipe uses sweetened condensed milk and powdered sugar for an easy homemade treat made with just five main ingredients. It’s ideal for making with kids since there is no hot syrup or boiling involved, and it can be adapted in color and flavor to suit any occasion.
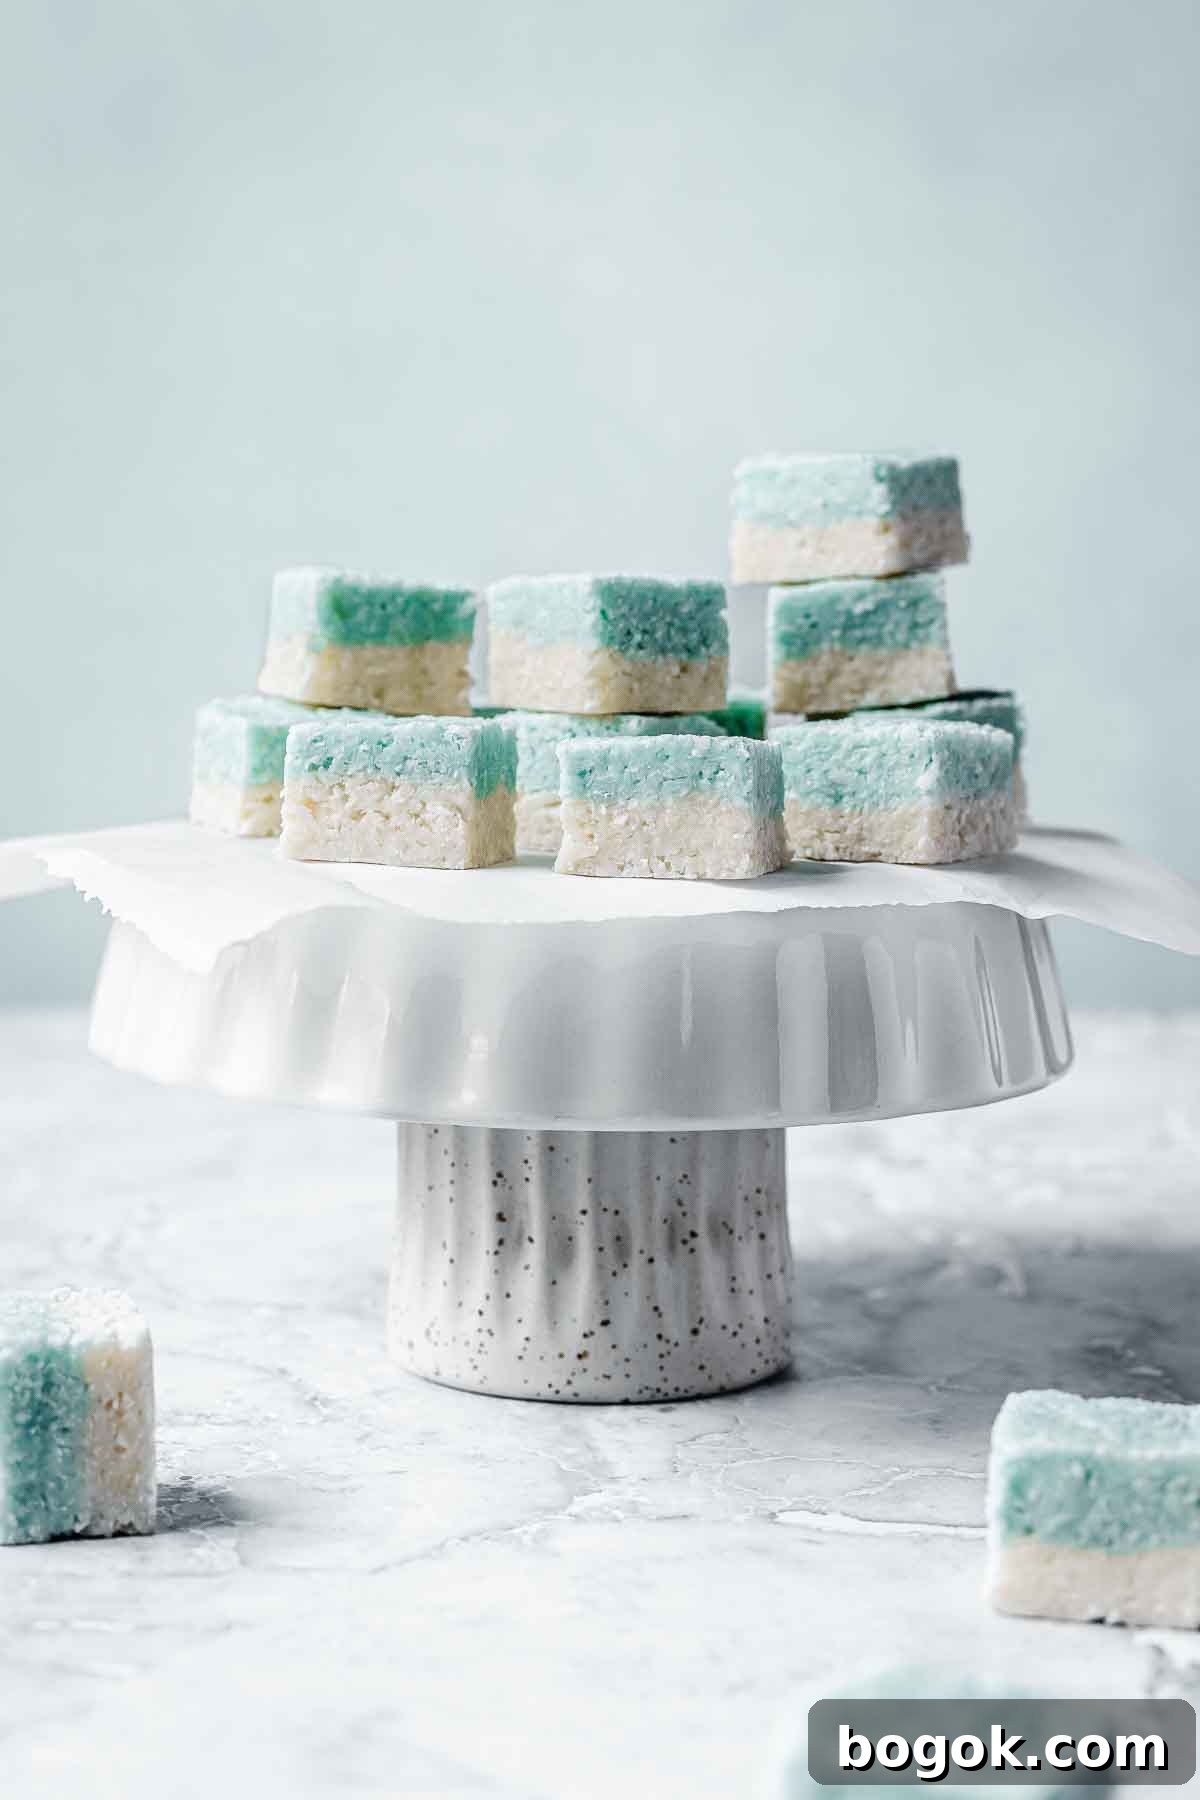
Coconut ice squares originated in Britain and are popular in Australia, New Zealand, and South Africa as well. Traditional recipes call for boiling milk and granulated sugar to a soft-ball stage before adding desiccated coconut. The updated method shown here swaps in sweetened condensed milk and sifted powdered sugar for a no-cook approach that is quicker, simpler, and just as delicious.
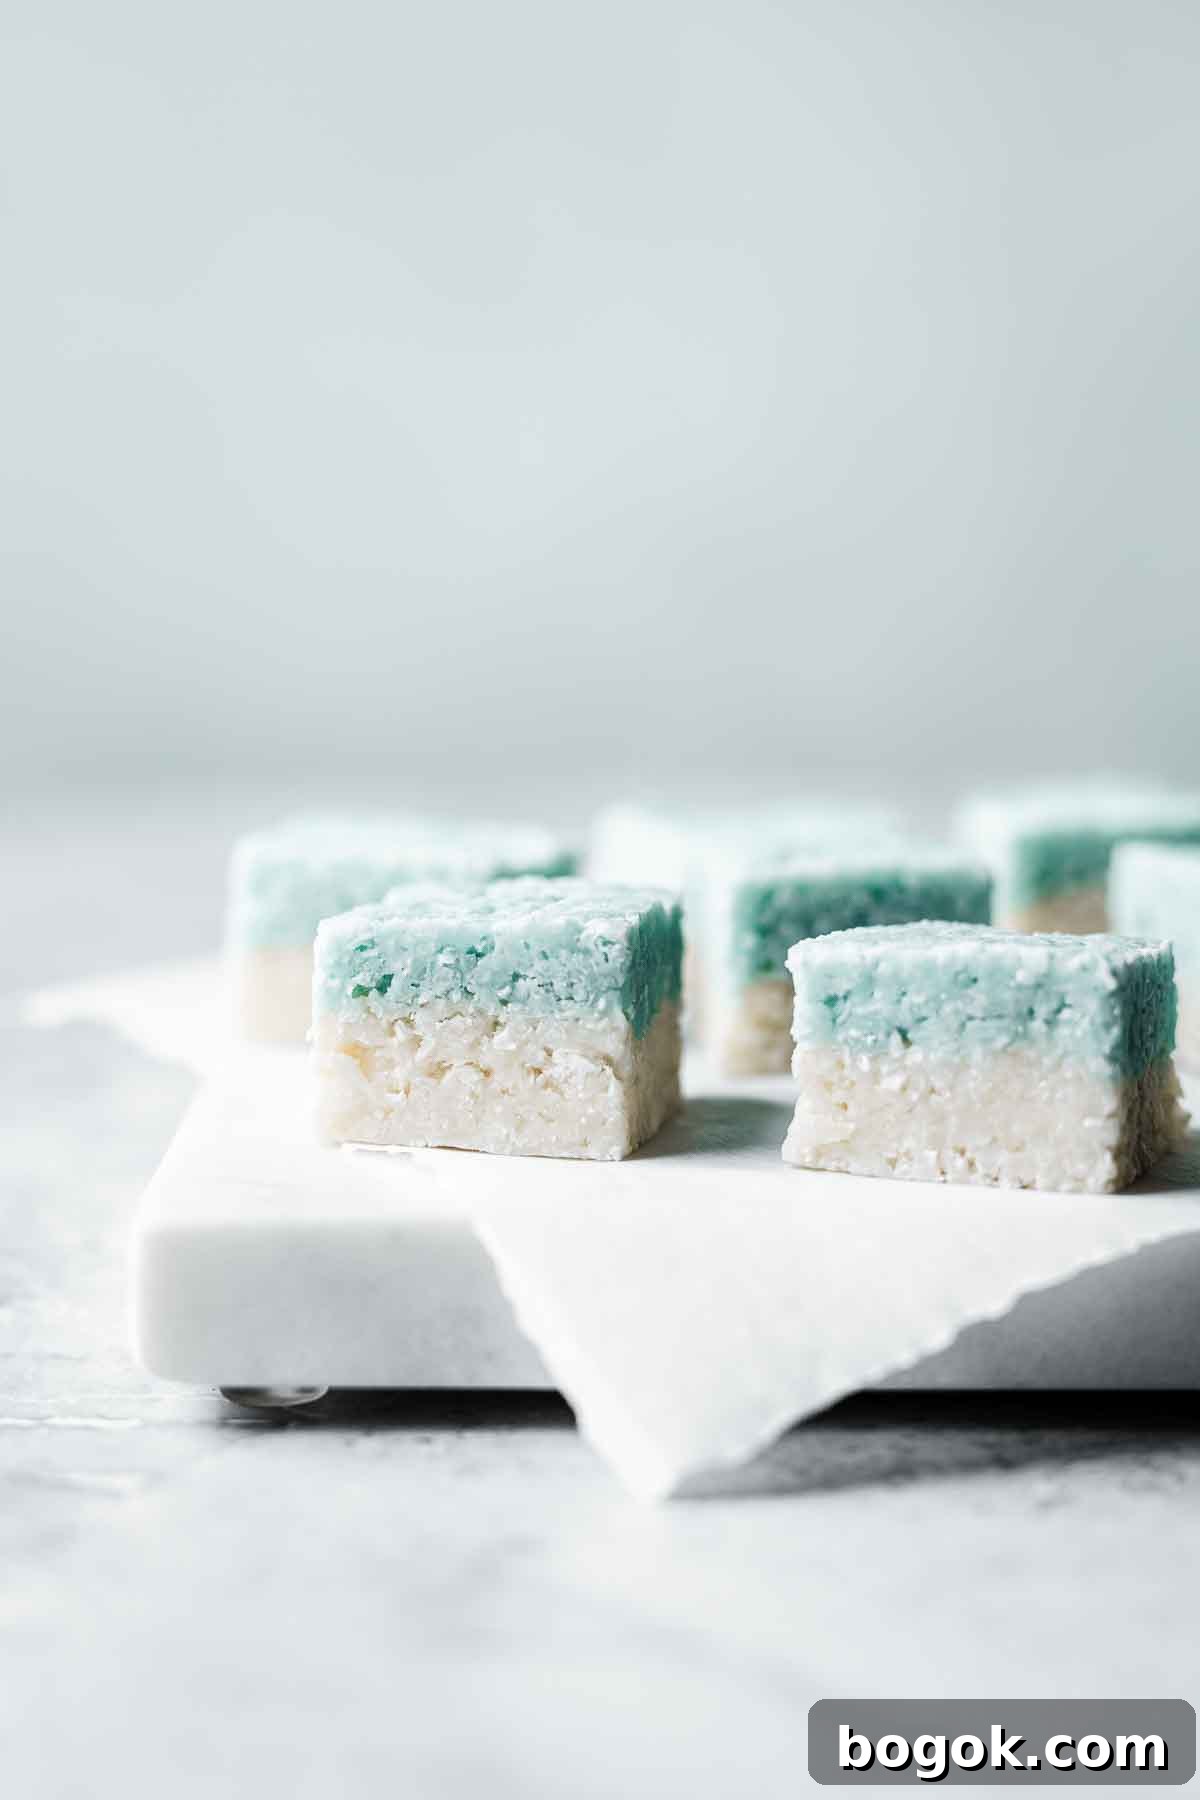
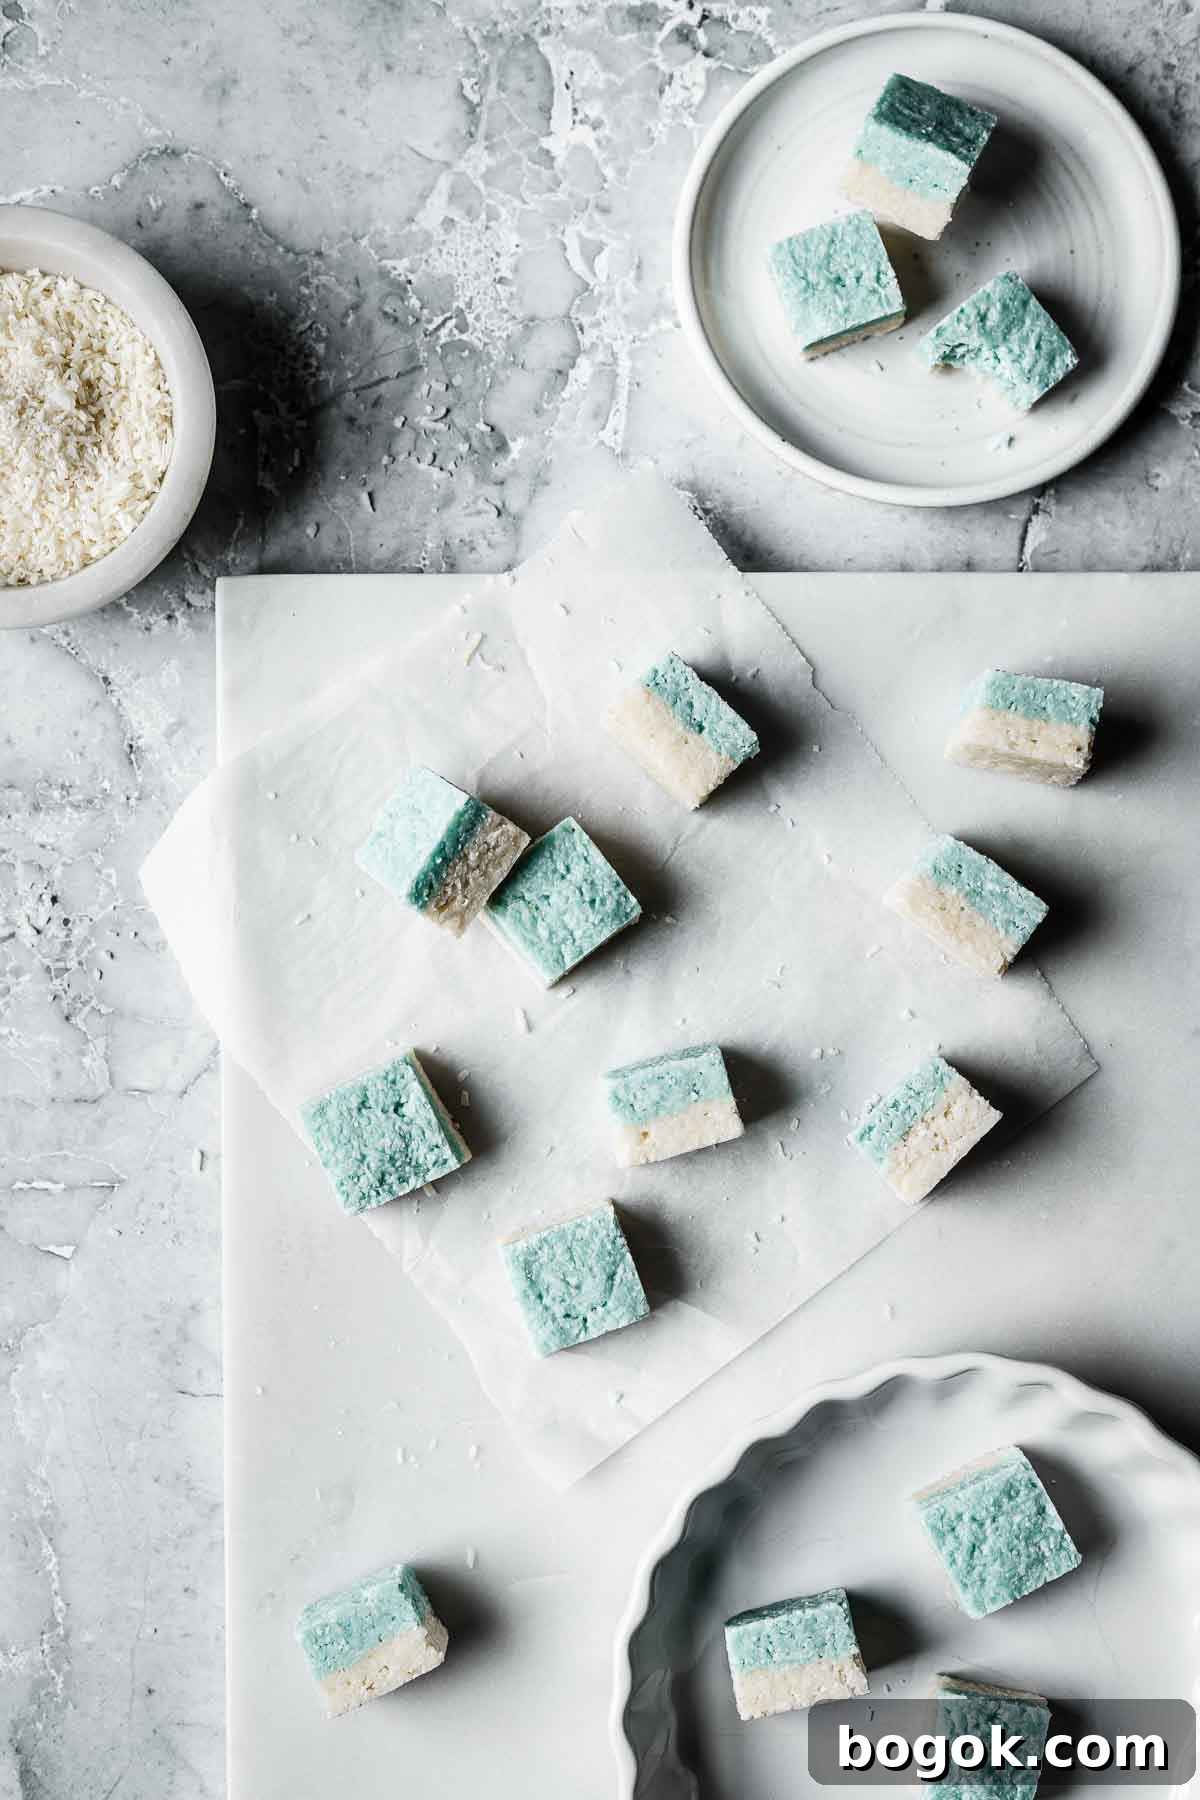
The classic color pairing is pink and white (with pink on top), but to emphasize the “ice” in the name you can choose blue and white, pale green, or any color that matches your celebration. These squares are perfect for birthday parties, holiday platters, bake sales, or gifting.
Ingredients
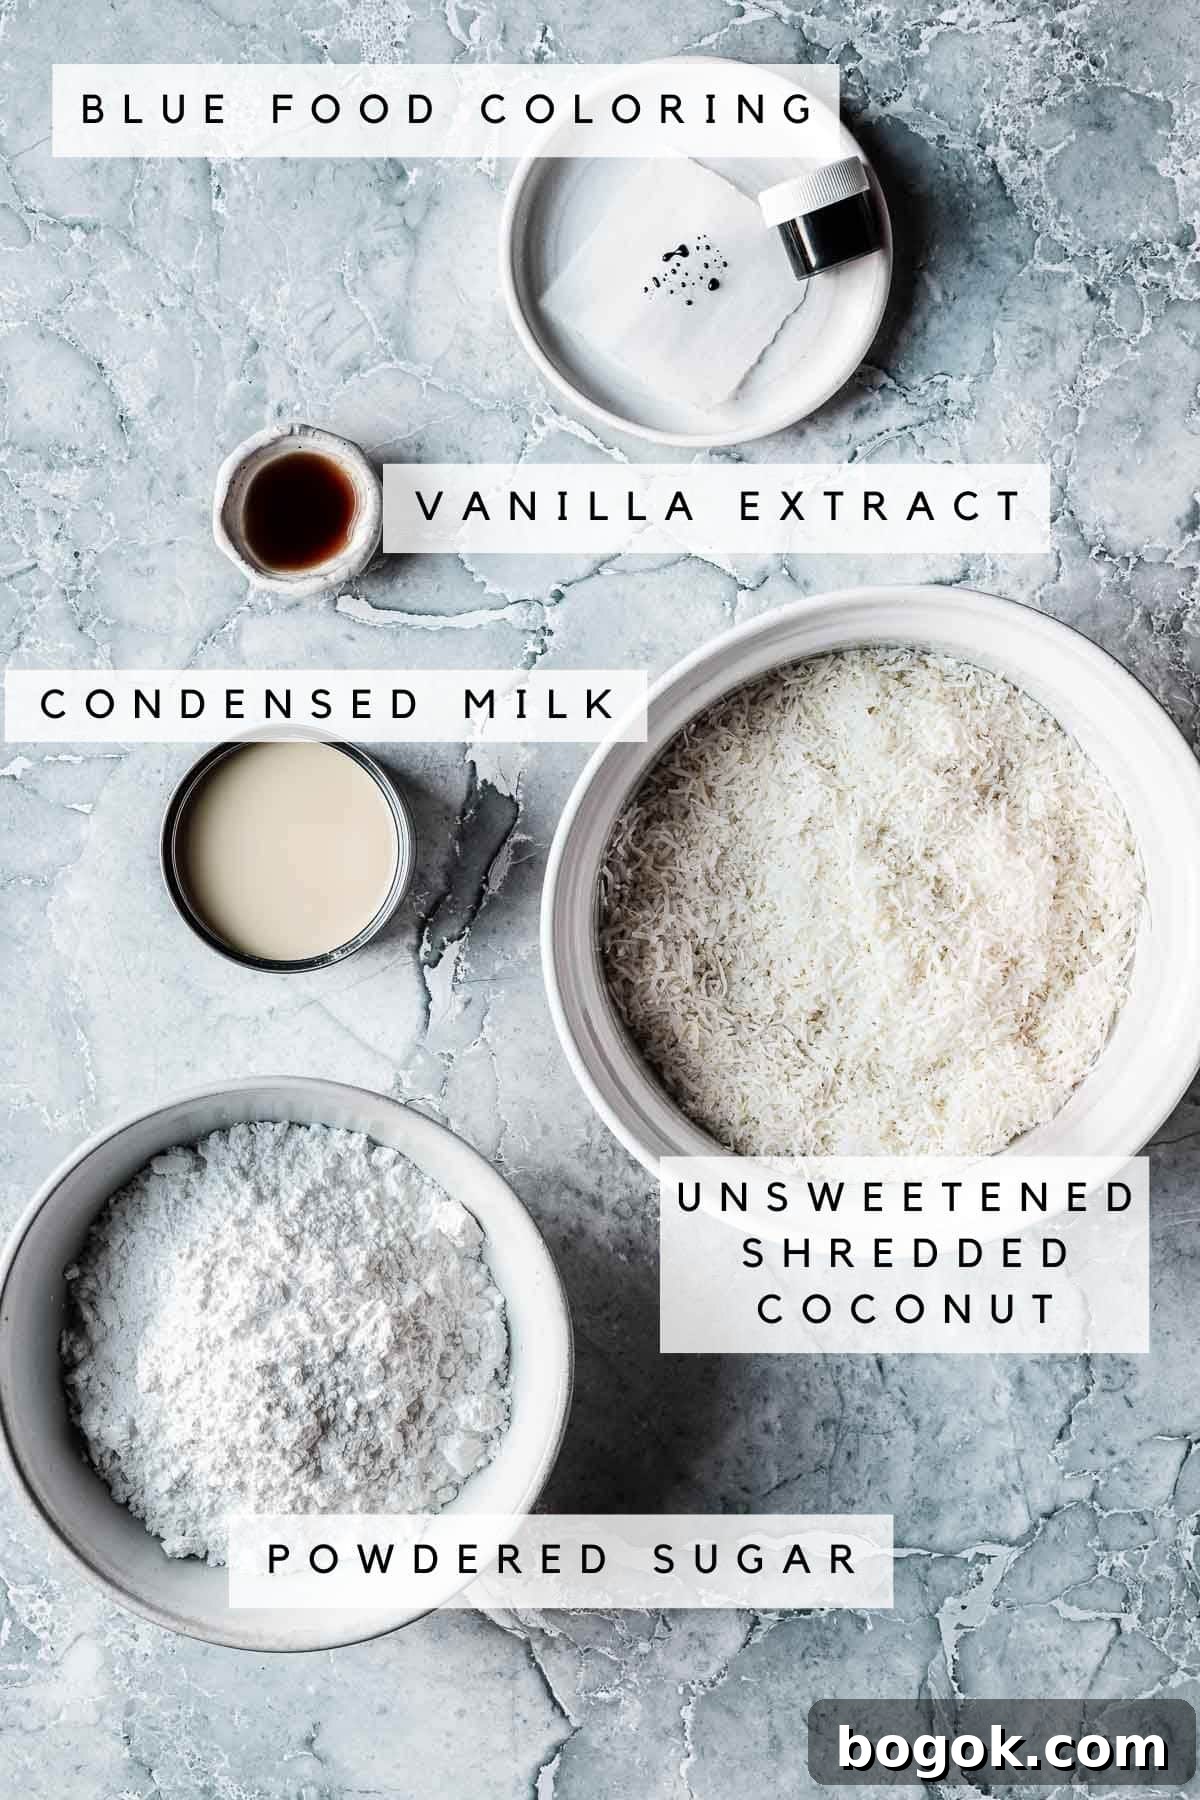
* See the recipe card later in the article for exact quantities and measurements.
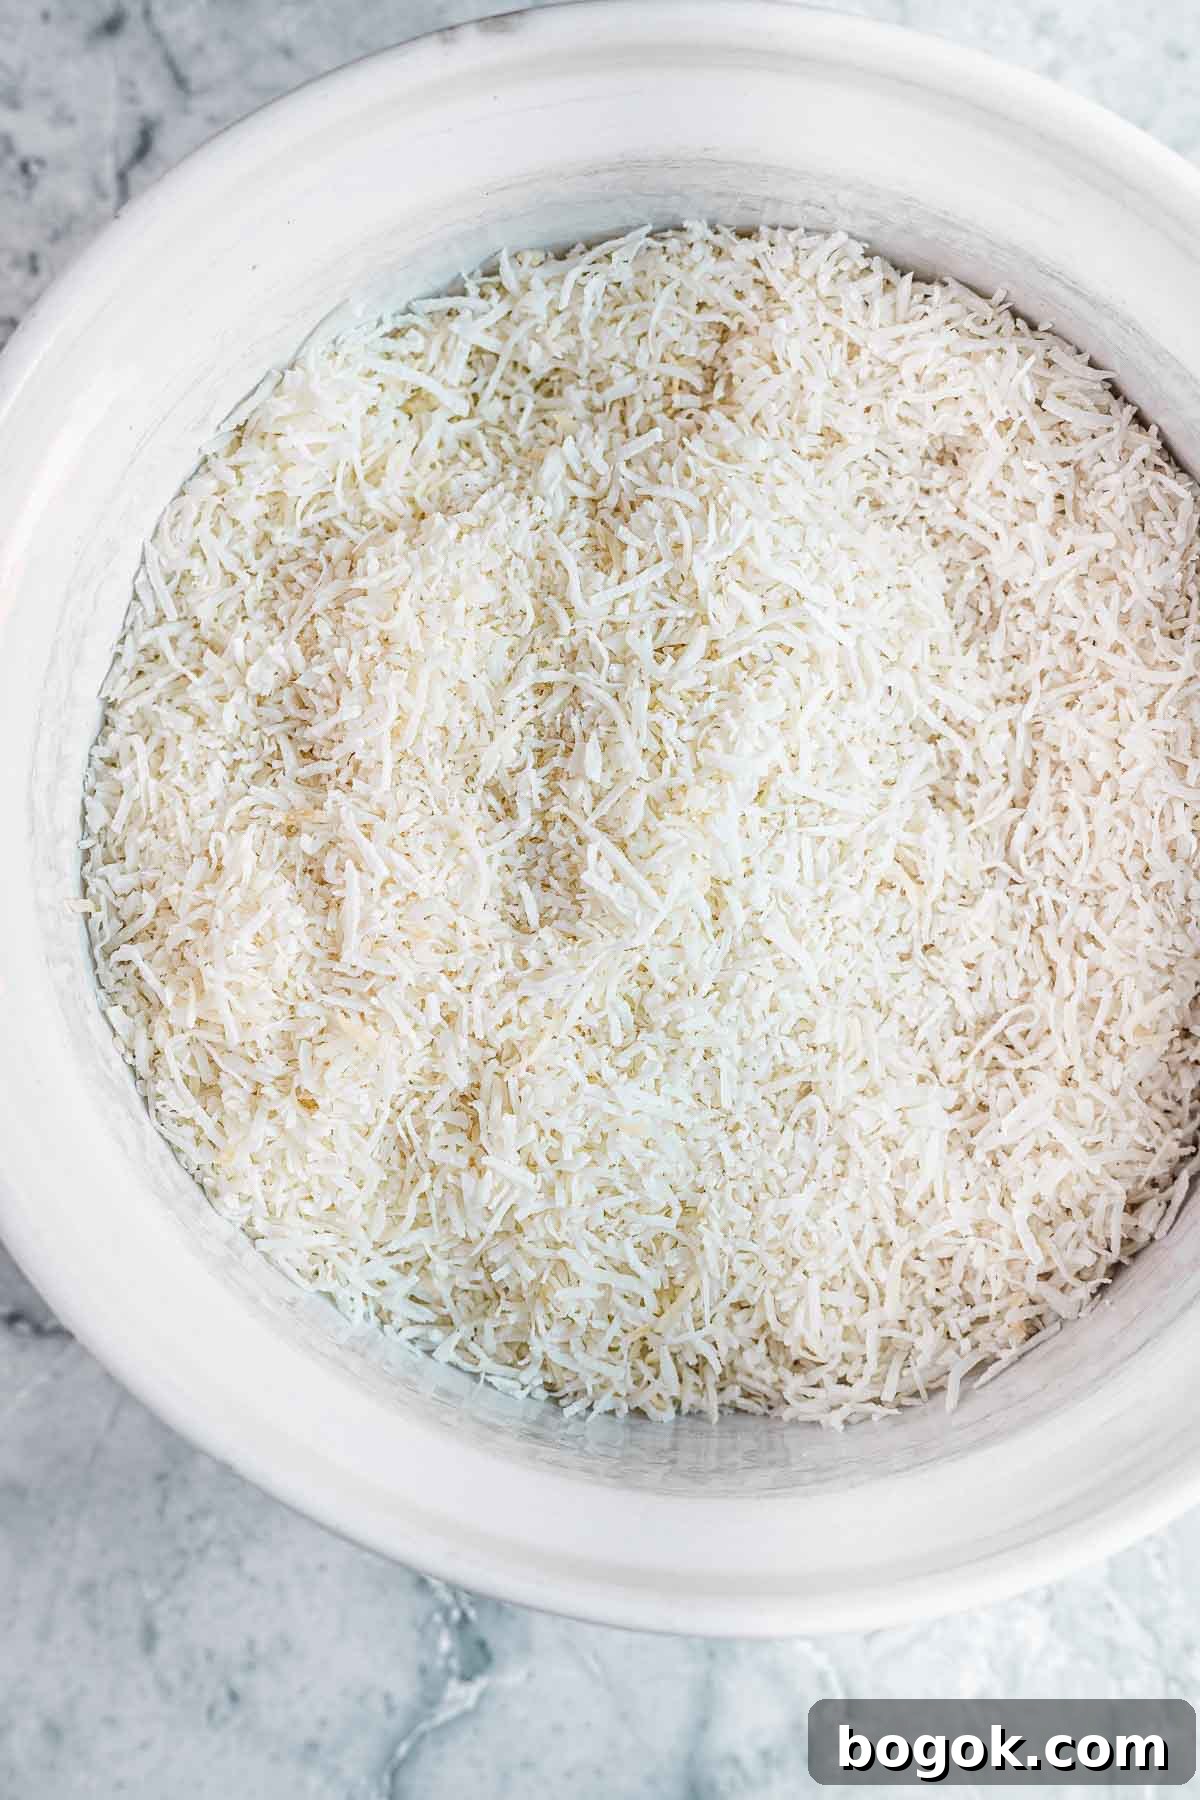
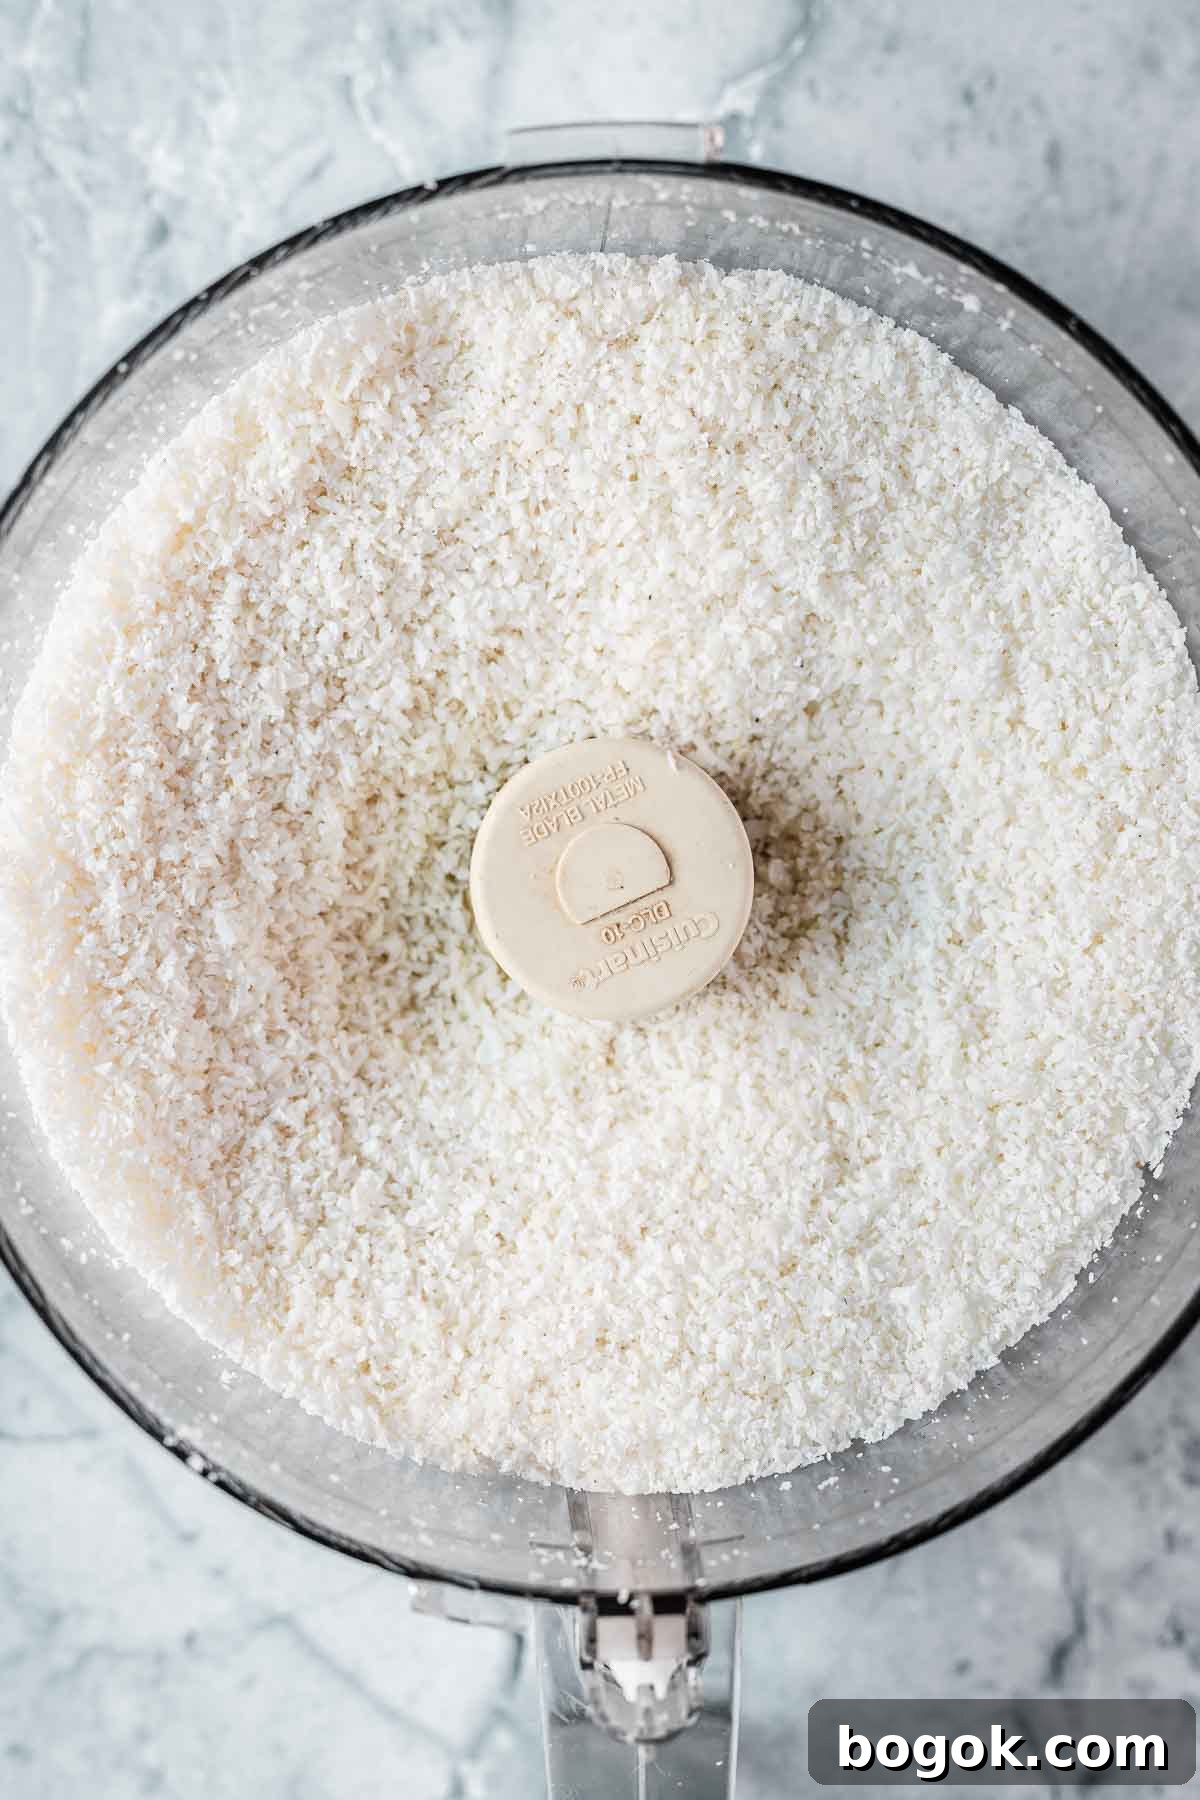
Coconut – Use finely shredded unsweetened coconut (desiccated coconut). Avoid sweetened coconut because the condensed milk and powdered sugar already add plenty of sweetness. If your shredded coconut is coarse, pulse it briefly in a food processor or blender until very fine; take care not to over-process or it will turn into coconut butter.
Instructions
These steps explain how to make coconut ice squares without baking. The full recipe with quantities appears in the recipe card below.
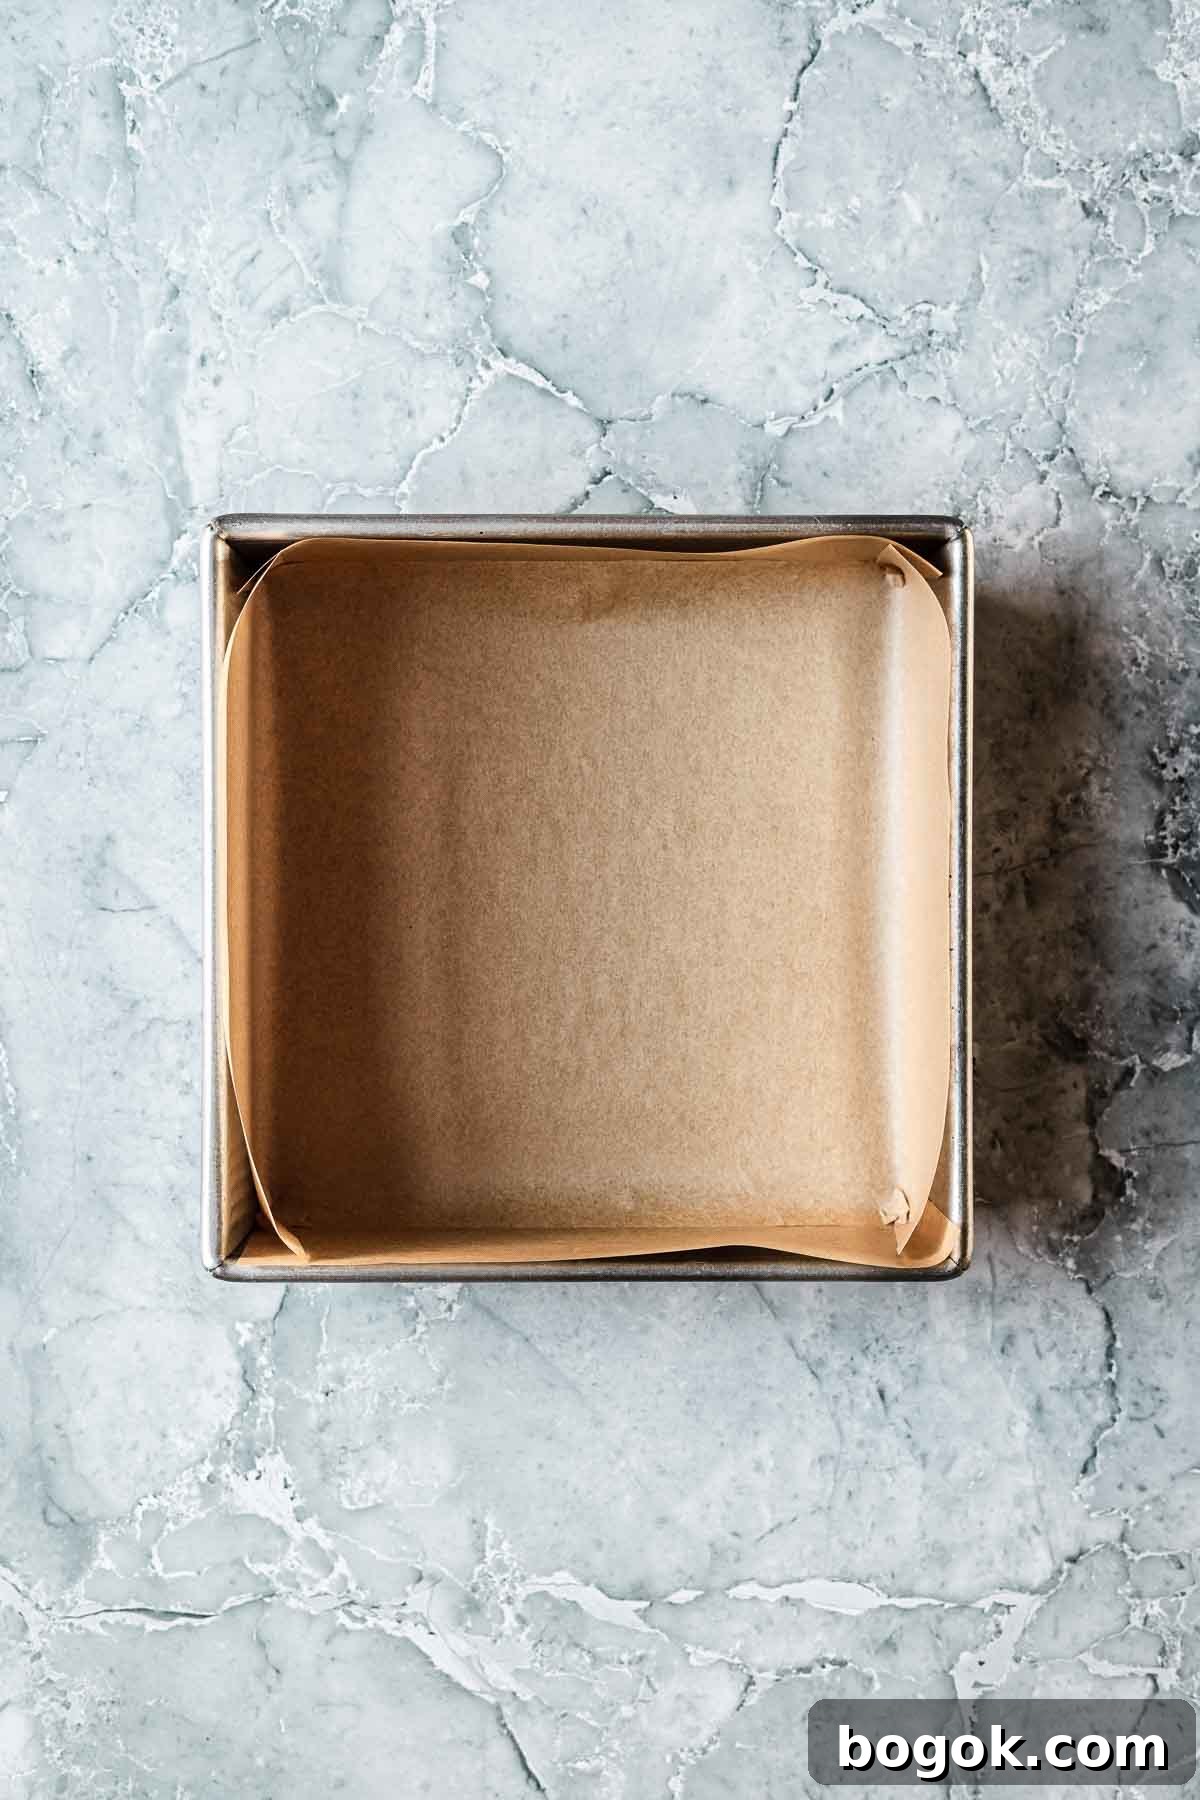
1. Line an 8 x 8 inch (20 cm) square pan with parchment paper, extending it up the sides so you can lift the block out easily when firm.
2. If needed, pulse the shredded coconut in a food processor until very finely chopped. Stop before it starts turning into coconut butter.
3. In a large bowl, whisk together the sifted powdered sugar and cream of tartar (if using). Add the finely shredded coconut, vanilla extract, and sweetened condensed milk. Stir until fully combined. The mixture will thicken as the coconut absorbs the condensed milk.
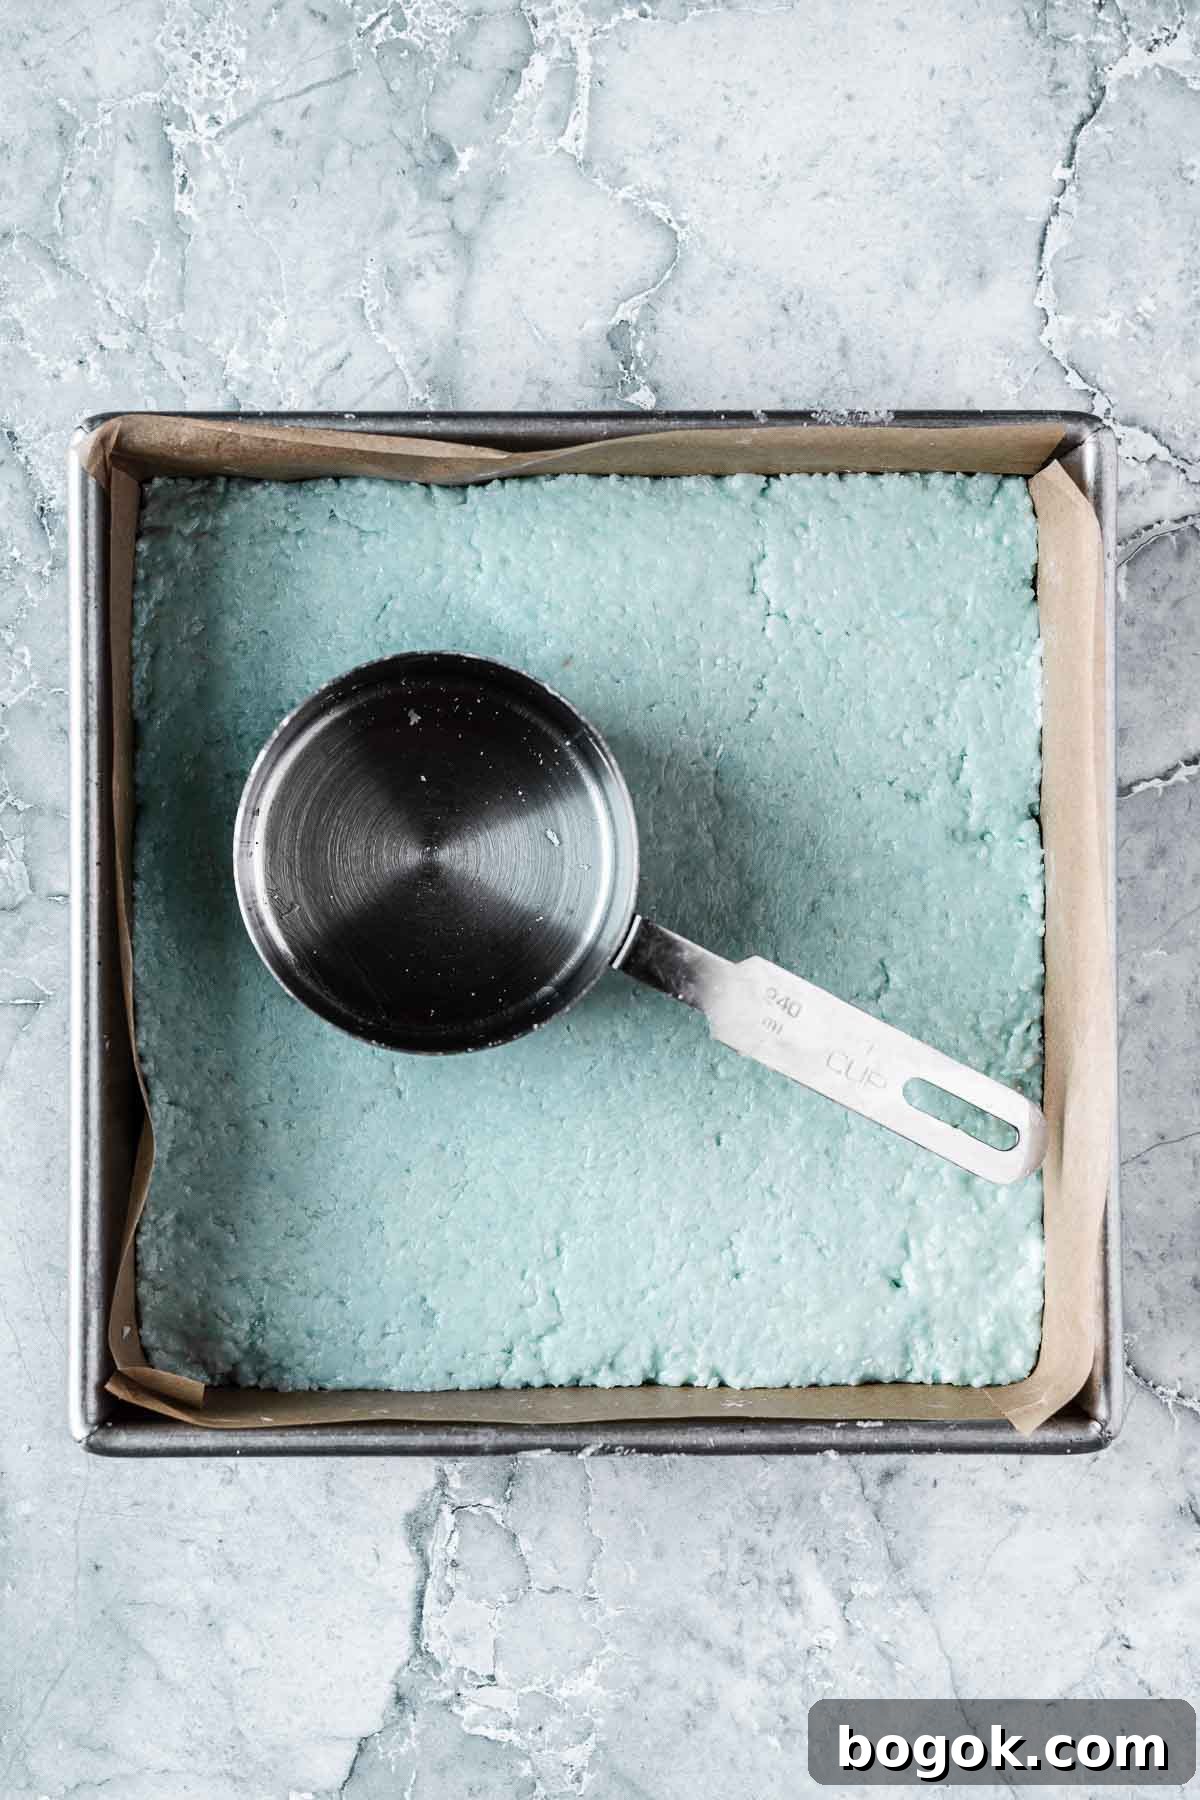
4. Divide the mixture in half. Press half evenly into the prepared pan using your fingers, coated lightly with powdered sugar or cooking spray to prevent sticking. Pack it down firmly with the bottom of a measuring cup.
5. Add food coloring to the remaining half of the mixture a little at a time until you reach the desired shade. Mix thoroughly so the color is even.
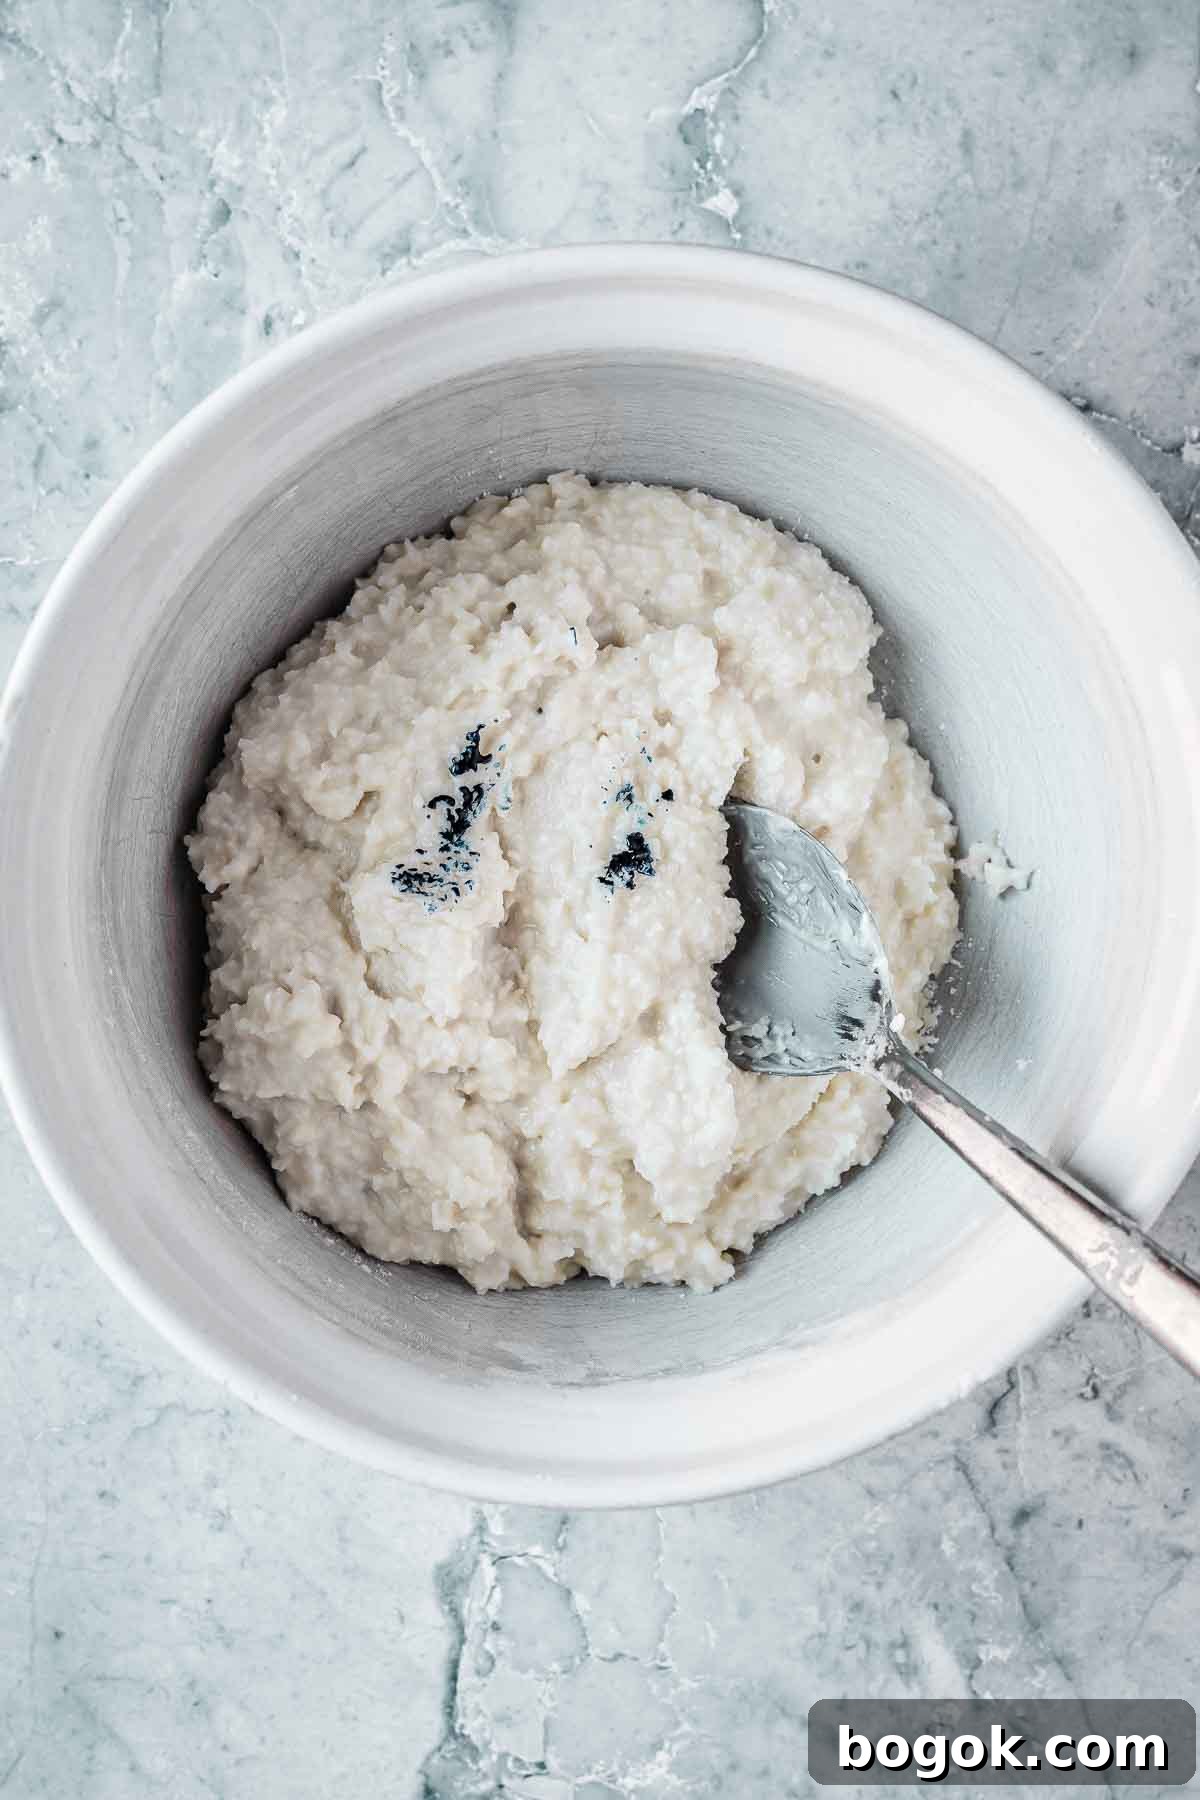
6. Scoop the colored mixture onto the chilled first layer and press evenly. Pack down again with a measuring cup. Cover with plastic wrap or wax paper and refrigerate for at least 1 hour to firm up.
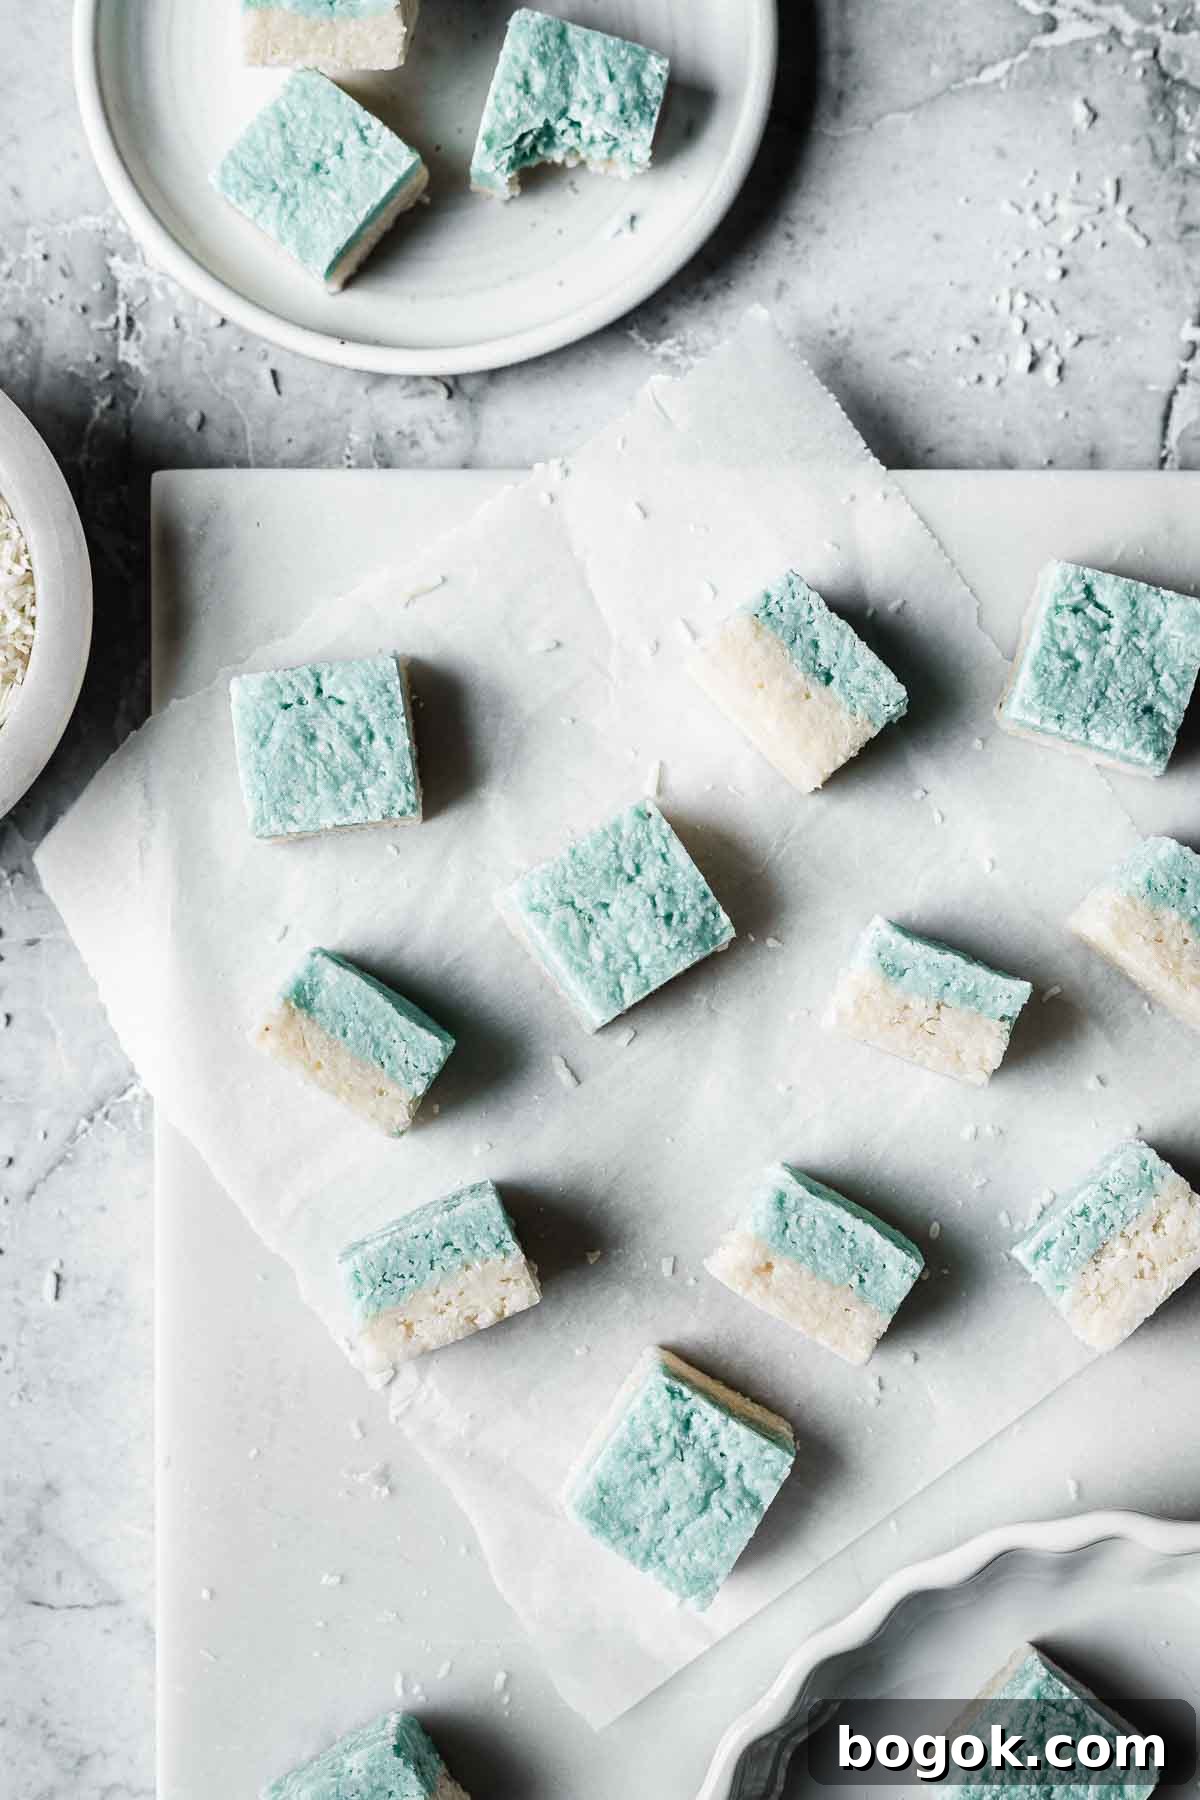
7. Lift the set block from the pan using the parchment handles. Trim rough edges with a long, sharp knife and cut into small squares. These candies are very sweet, so small portions (for example, 36 squares from an 8 x 8 pan) work well.
Tip: Chill the coconut ice for at least 1 hour before slicing. Cold, firm candy is much easier to cut cleanly. Lightly score the top with a sharp knife before making full cuts for the neatest results.
Variations
Experiment with these flavor and color ideas:
- Rose coconut ice – Use pink food coloring for the top layer and stir in a small amount (about 1/4 to 1/2 teaspoon) of food-grade rose water for a floral note.
- Citrus zest – Add grated lemon, lime, or orange zest to part of the mixture for bright citrus flavor. For a stronger taste, add 1/2 teaspoon of the matching extract.
- Colorful “unicorn” coconut ice – Divide the colored portion into three bowls and tint each a different pastel color (blue, pink, purple). Drop small scoops of each color onto the white bottom layer and press so the colors create a tie-dye effect. Press sprinkles on top while tacky if desired.
Substitutions
- Dairy-free / vegan – Replace regular sweetened condensed milk with sweetened condensed coconut milk in equal measure. Note that condensed coconut milk can be slightly darker in color and your white layer may be off-white or beige.
Equipment
Essential tools include an 8 x 8 inch (20 cm) square pan, parchment paper for lining, a food processor or blender (if you need to grind the coconut finer), and a long, sharp knife for cutting. A measuring cup is helpful for pressing layers evenly.
Storage
Keep the coconut ice chilled for easiest slicing. Store squares in an airtight container at room temperature for up to 2–3 weeks. To freeze, arrange pieces in a single layer in an airtight container and freeze for up to 2 months; thaw in the refrigerator before serving.
FAQ
What is coconut ice made of?
Traditional coconut ice was made by boiling milk and granulated sugar with shredded unsweetened coconut on the stove. This modern no-bake version uses sweetened condensed milk, powdered sugar, shredded unsweetened coconut, vanilla extract, and optional cream of tartar to help prevent sugar crystallization.
Why is it called coconut ice?
The name likely comes from the candy’s pale, icy appearance—traditionally white with a contrasting colored layer. Choosing blue and white emphasizes that icy look, while pink and white is the classic pairing.
More Sweets
 Whiskey Salted Caramels
-
Kokosmakronen (German Coconut Macaroons)
-
Alfajores de Maicena (Dulce de Leche Cookies)
-
Chocolate Covered Cornflakes (Roses des Sables)
Recipe
Coconut Ice
Coconut ice makes about 36 small squares from an 8 x 8 inch (20 cm) pan. Prep time: ~15 minutes. Chill: at least 1 hour. Total time: about 1 hour 15 minutes.
Ingredients
- 300 g (about 3½ cups) unsweetened shredded coconut, finely ground
- 396 g (14 oz; 1 can) sweetened condensed milk
- 300 g (about 2½ cups) sifted powdered sugar
- 1 teaspoon vanilla extract
- ¼ teaspoon cream of tartar (optional)
- Food coloring (amount as needed)
Directions
- Line an 8 x 8 inch pan with parchment paper and set aside.
- Process coconut in a food processor if needed until very fine. Do not over-process.
- Whisk powdered sugar and cream of tartar in a large bowl. Add coconut, vanilla, and condensed milk. Stir until combined.
- Press half the mixture into the lined pan and pack down firmly. Chill briefly.
- Color the remaining half with food coloring, mix thoroughly, and spread on top of the chilled layer. Pack down again.
- Cover and refrigerate at least 1 hour. Lift from pan, trim edges, and slice into squares.
Notes
- Coat your fingers with powdered sugar or a little cooking spray when pressing mixture into the pan to prevent sticking.
- For a dairy-free version, use sweetened condensed coconut milk in equal measure.